From Photo to Linework: Extract Clean Stencils from Complex References
• by DND Applications • 7 min read
Every professional artist knows that a tattoo is only ever as good as the stencil foundation it is built upon. One of the most significant challenges in modern tattooing is managing client expectations regarding reference photos. Clients often arrive with high-resolution, hyper-realistic photographs that are teeming with unnecessary noise, low contrast, or soft focus elements that simply do not translate well to the skin.
The initial excitement of a new project can quickly fade into frustration when you realize the reference image is muddy. If you attempt to trace every single detail, the resulting transfer becomes an unrecognizable blob of purple ink. The true skill of a seasoned artist lies not just in needle application, but in the editorial decisions made before the machine even turns on. It requires a keen eye to strip away the noise and isolate the essential structure that will ensure the tattoo ages gracefully.
The Art of Visual Filtering
Before you put pen to paper or stylus to tablet, you must perform a mental conversion. You are not a photocopier. You are an interpreter. When looking at a busy reference photo, your first task is to identify the primary light source and the deepest shadows. A successful stencil tattoo relies on high contrast. Intermediate greys often confuse the eye during the tattooing process. You must decide which mid-tones will be represented by hard lines and which will be left for soft shading later.
This process is often referred to as visual filtering. You are filtering out the texture of a sweater or the individual strands of messy hair to find the geometry underneath. When you look at an image to stencil mentally, you should be seeing shapes and blocks of value rather than minute details. This simplification prevents the design from becoming muddy over time as the ink settles into the dermis.
Establishing Line Hierarchy
Once you have filtered the image, the next step in becoming a proficient tattoo stencil creator is establishing a hierarchy of lines. Not all lines on your transfer sheet should carry the same visual weight. A common mistake among aspiring artists is outlining every element with the same thickness. This results in a flat, sticker-like appearance that lacks depth.
Your tattoo stencil should utilize different line weights to indicate depth and importance. Use bold, continuous lines for the main perimeter and foreground elements. Use thinner, broken, or dotted lines to map out shadow shapes and secondary details. This roadmap allows you to move faster during the actual session because your stencil is telling you exactly which needle grouping to use for each section. It turns the skin into a paint-by-numbers canvas that you have engineered for success.
The Squint Test and Map Making
A classic technique derived from traditional painting is the squint test. If you squint your eyes at your reference photo until it becomes blurry, the essential shapes will reveal themselves while the distractions fade away. This is the gold standard for how your final linework should look. If the design is readable while squinting, it will be readable from across the room.
Think of your transfer paper not as a drawing, but as a topographical map. When you convert image to tattoo stencil formats manually, you are essentially drawing isobars around areas of shadow. The goal is to enclose areas of similar value. By treating the face or object as a series of enclosed shapes, you ensure that you never lose your place during the tattooing process, even if the stencil begins to wipe away during a long session.
Streamlining the Design Workflow
The theoretical approach to simplification is vital, but the practical application can be time-consuming. In a busy street shop or a high-demand private studio, spending hours hand-tracing complex references cuts directly into your revenue. While the artistic eye is irreplaceable, modern tools can significantly reduce the friction between concept and execution.
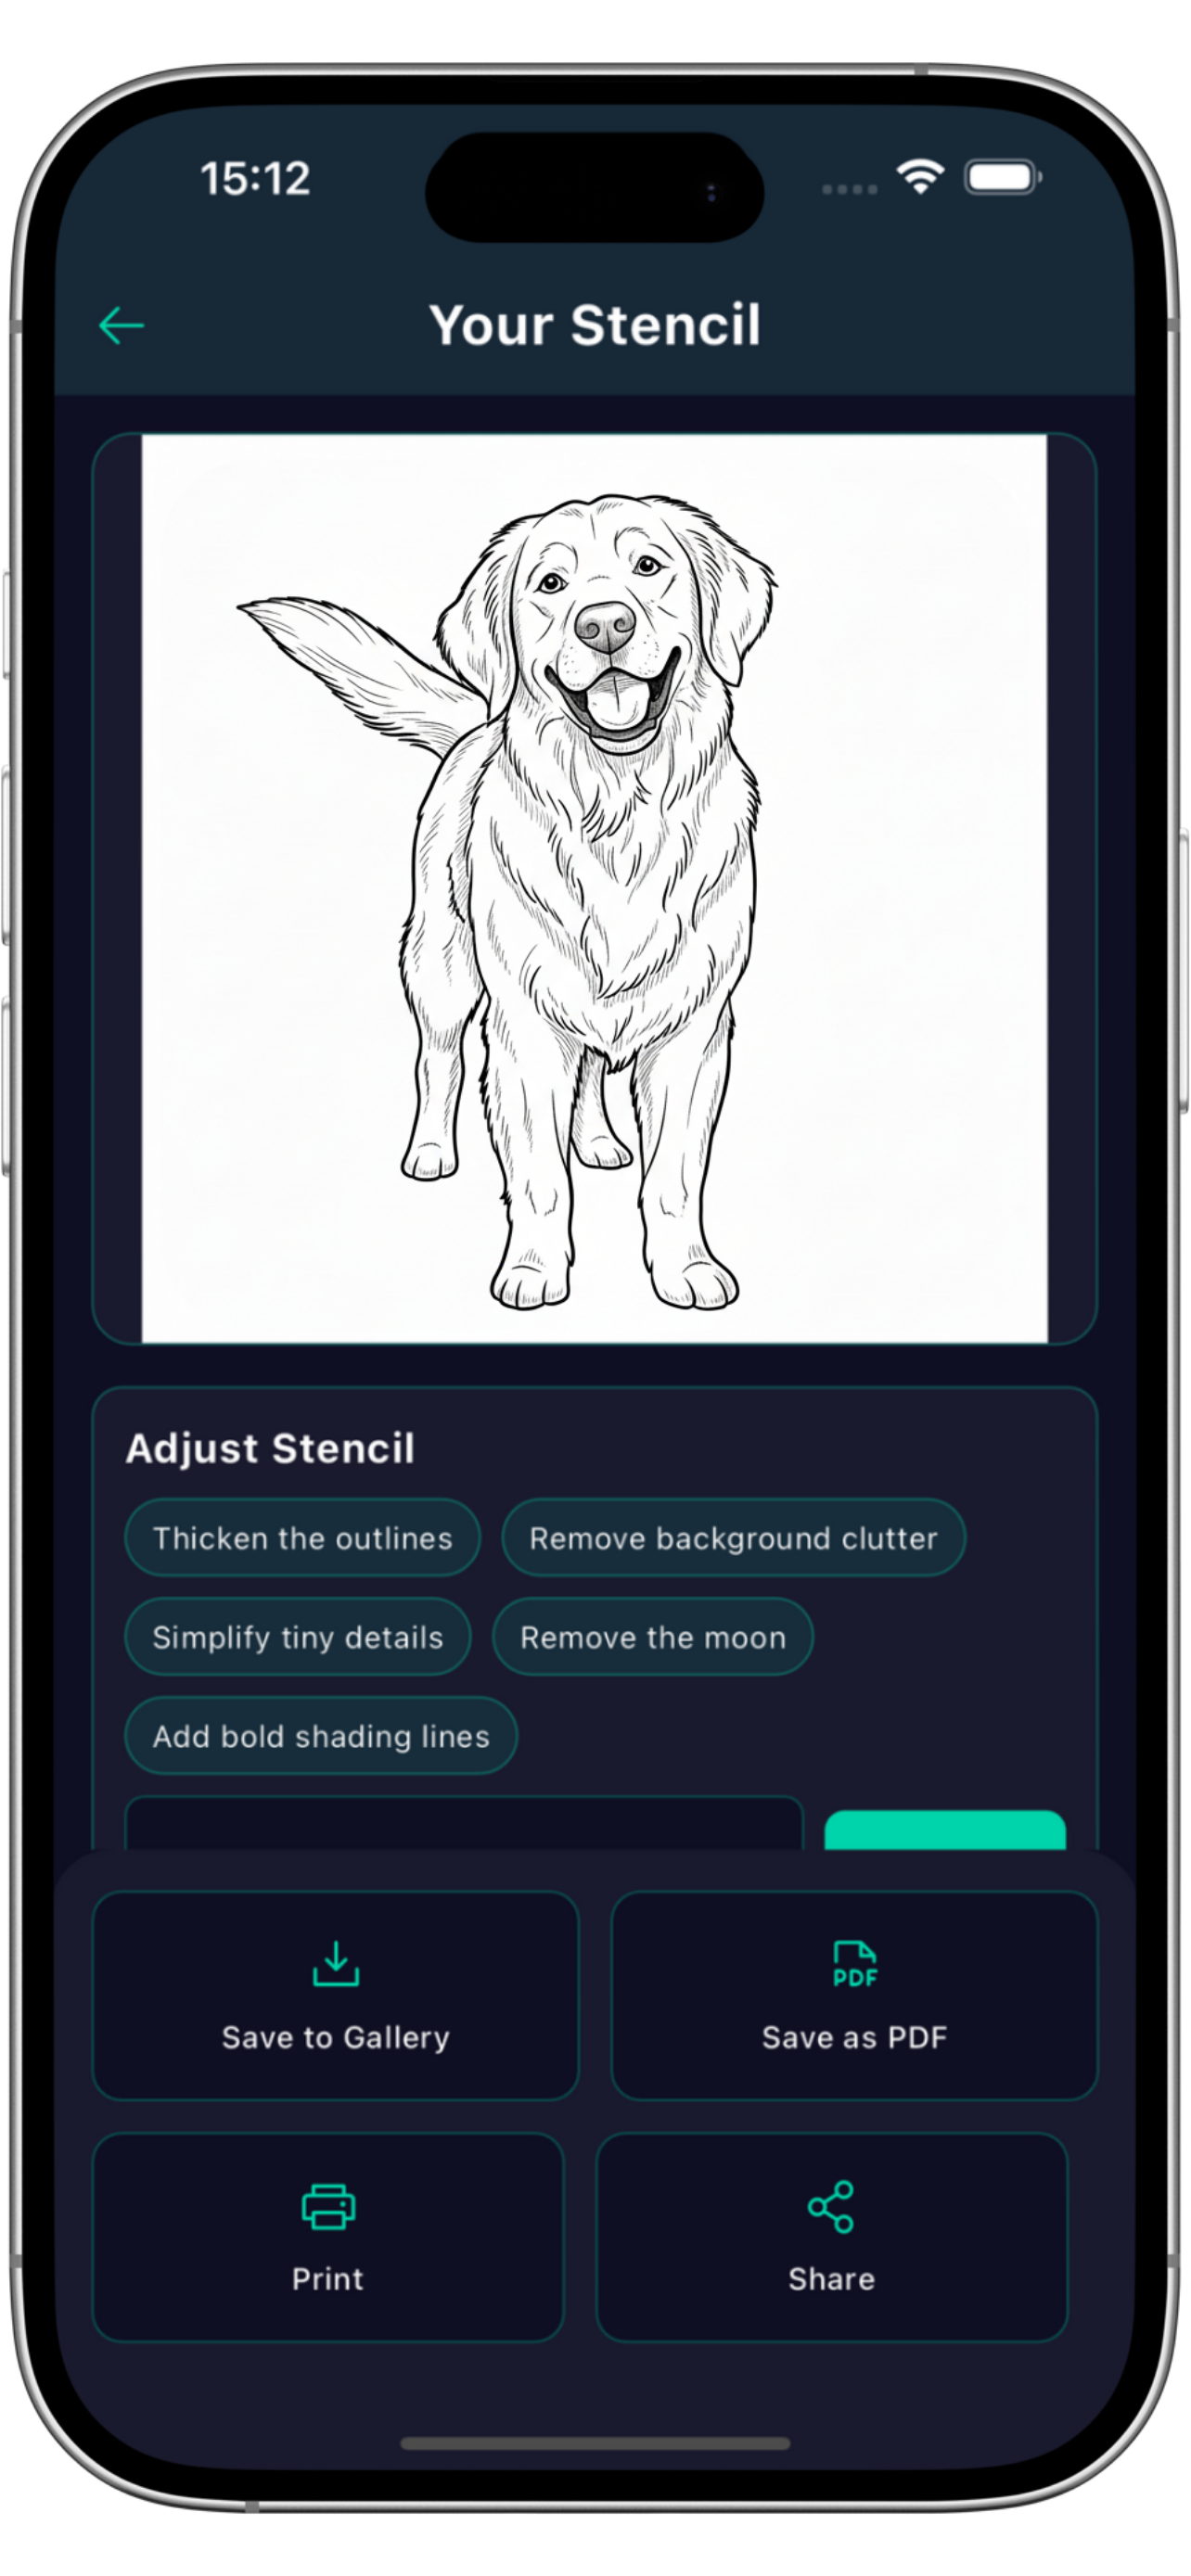
This is where a dedicated tattoo stencil maker becomes an asset rather than a crutch. Digital tools allow you to manipulate contrast and extract line data instantly, giving you a base to refine rather than starting from zero. For artists looking to optimize this workflow, Stencify offers a powerful solution.
As a premier tattoo stencil app, Stencify utilizes advanced algorithms to replicate the artist's need for high contrast and edge detection. It creates immediate, precise outlines from any photo, serving as the perfect digital assistant. Instead of struggling with manual tracing, you can use Stencify to generate a high-quality base, print it, and start tattooing sooner. It bridges the gap between complex photography and clean, tattoo-ready linework.
Related reading
- Mastering Contrast and Flow - visual hierarchy for flawless stencils
- Mastering Contrast: Reference Images - establish line hierarchy and solve contrast problems
- Tattoo Stencils 101 - fundamentals of clean transfers
Transform complex photos into clean linework
Stencify handles edge detection and contrast optimization instantly. Get precise outlines from any reference photo and start tattooing sooner.