How to Size a Tattoo Stencil and Print It at Actual Size
• by DND Applications • 7 min read
A stencil that is the wrong size costs you a sheet of thermal paper, ten minutes, and a client who watches you reprint. Sizing is the step most tutorials skip, because they assume the design already fits. It almost never does. A reference saved from a phone is whatever size the screen made it, and a stencil app exports whatever size the file was. This guide covers the three things that make a stencil come out at actual size: measuring the spot, sizing the design to that measurement, and printing without the printer scaling it.
Key takeaways
- Measure the placement on the body in centimetres or inches first, then size the design to that number. Never size by eye on a screen.
- Check the size on skin before printing: a try-on preview on a photo of the client, or a plain-paper test print held against the spot.
- Print at 100% with every scaling option off. "Fit to page" is the most common reason a stencil prints too large or too small.
- Stencil paper is A4 or US letter; anything larger prints across two sheets with a registration line.
Step 1: Measure the placement, not the design
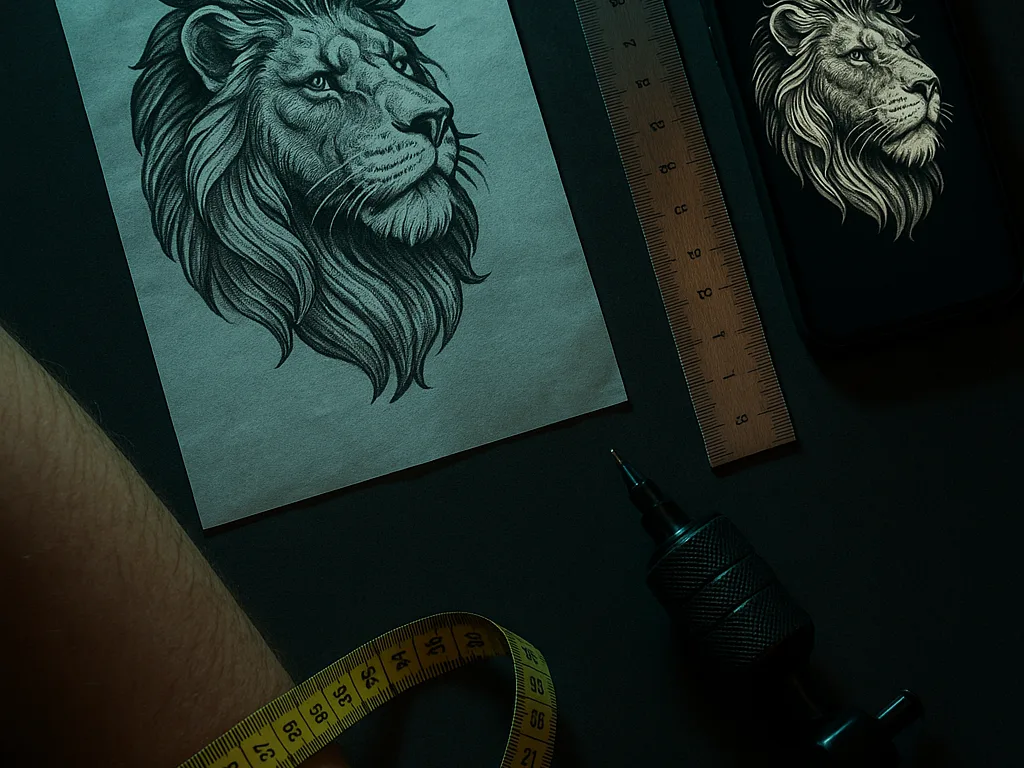
Hold a soft tape measure flat against the skin where the tattoo will sit and take two numbers: the longest dimension the design may occupy, and the width at the widest point. On a forearm, measure along the bone, not around it. On a curved area such as a shoulder or calf, measure the flat footprint the client sees from the front, because that is how the finished tattoo will be judged. Write both numbers on the consultation notes. A client who says "about this big" with their hands is giving you a guess; the tape gives you a number you can print to.
Subtract a margin. A design that fills the whole measured area has no room for the natural curve of the limb or for the client to move. For most placements leave 1 to 2 cm at the edges. On hands, fingers, necks and ribs, leave more, because skin there stretches and the stencil will spread when the client moves.
Step 2: Size the stencil to the measurement
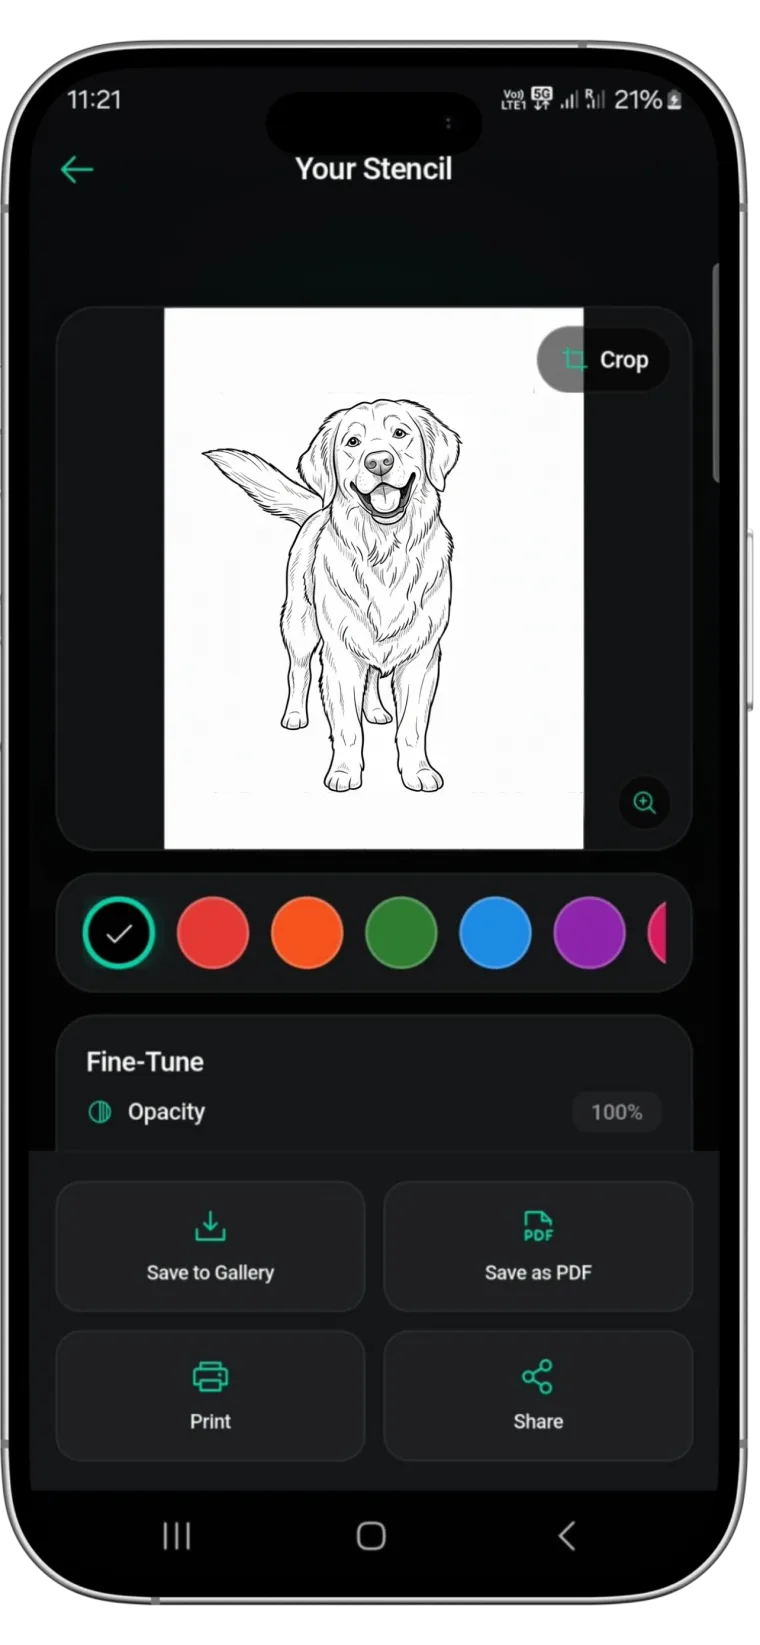
Every stencil app and every drawing program has a document or canvas size. Set it to the measured dimensions before you place the design, so the artwork is scaled to real units rather than to the screen. In Stencify, the exported PNG or PDF is sized for stencil paper, and the try-on preview shows the stencil on a body model or on a photo of the client at the size it will print, so you can see whether the width you measured actually reads well on the body before any paper is used.
If you are working from a file somebody sent you, check the file's physical size, not its pixel count. A 3,000-pixel image can be set to print at 5 cm or 50 cm; the pixels say nothing about the size on paper. Set the print size explicitly.
Step 3: Check it on skin before you print
Two cheap checks save almost every reprint. The first is a try-on preview: import a photo of the placement, drop the stencil onto it at the measured size, and look at it with the client. Proportions that looked fine on a blank canvas often need a few millimetres either way once the elbow or wrist is in frame. The second is a plain-paper test: print the stencil on ordinary paper at 100%, cut it out roughly, and hold it against the skin. Plain paper costs nothing, and the client can see the real size with their own eyes.
Step 4: Print at 100% with scaling off
This is where most stencils go wrong. Print dialogs default to "fit to page", "shrink to fit" or "scale to printable area", all of which change the size. Before printing, set scale to 100% or "actual size" and turn every fitting option off. On a thermal stencil printer, send the file from the app or print the PDF with scale at 100%; on an inkjet for plain-paper tests, do the same and confirm the paper size in the dialog matches the paper in the tray.
Check the result with a ruler the first time you use a new printer or a new phone. Measure a known dimension on the printout against the number you set. If it is off by more than a millimetre or two, the printer is still scaling and the setting needs to be found in the driver, not the app.
When the design is bigger than the paper
Stencil paper is A4 or US letter. A full forearm, a thigh piece or a back piece will not fit on one sheet. Export the design at full size and let the printer tile it across two or more sheets, or split it yourself along a line in the design where a join will not show, such as a background edge or a gap between elements. Mark a short registration line across the join on both sheets before cutting so you can line them up on the skin.
Thermal printer or home printer?
A thermal stencil printer prints straight onto thermal transfer paper and is the fastest route. A home inkjet or laser printer cannot print on thermal paper, but it is perfect for plain-paper size tests and for the hand-transfer method with hectograph paper, which our guide to making a tattoo stencil covers. Whichever printer you use, the sizing rules above are the same: measure, size to the measurement, test, print at 100%.
Do it in one pass with Stencify
Stencify converts a photo or sketch into clean line work in about 30 seconds, lets you adjust line weight and contrast, previews the result on a body model or a photo of your client at real size, and exports a PNG or PDF sized for A4 or letter stencil paper. It runs on iPhone, iPad and Android, and the first two uses are free: get Stencify on the App Store or on Google Play.
Frequently asked questions
What size should a tattoo stencil be?
The size of the placement you measured on the body, minus a margin of 1 to 2 cm at the edges. Measure the spot with a tape first and size the design to that number, never by eye on a screen.
Why does my tattoo stencil print too small?
The print dialog is scaling it. Set scale to 100% or "actual size" and turn off every fit-to-page option. Also confirm the paper size in the dialog matches the paper in the printer.
Can I print a tattoo stencil at home?
Yes. A home printer cannot print on thermal paper, but it prints the design on plain paper at 100% for a size test or for tracing onto hectograph transfer paper by hand.
How do I check the stencil size before printing?
Use a try-on preview on a photo of the client at the measured size, or print a plain-paper copy at 100% and hold it against the skin. Both take a minute and prevent most reprints.
Related reading
- How to Make a Tattoo Stencil - the full method, including the no-printer option
- Best Tattoo Stencil Printers - thermal printers that print true to size
- How to Use Tattoo Transfer Paper - getting the printed stencil onto skin cleanly
- Tattoo Try-On - checking size and placement on skin before you print
Size it on the body, then print it right the first time
Stencify previews the stencil on a body model or your client's photo at real size and exports a PDF sized for stencil paper.