Getting the Stencil to Stick: A Practical Guide to Clean Transfers on Skin
• by DND Applications • 5 min read

You can generate the sharpest stencil in the world, but if it smudges the moment your glove touches it, none of that precision reaches the skin. The transfer is where a lot of otherwise clean work quietly falls apart. This guide covers the physical side of the process: preparing the skin, laying the tattoo stencil down, and getting it to hold from the first line to the last.
Start With the Skin, Not the Stencil
A stencil sticks to a clean, dry, hair-free surface far better than it sticks to anything else. Shave the area even when the hair looks fine, because invisible fuzz breaks up line contact. Wipe the skin with a gentle cleanser or alcohol, then let it dry completely. Any residue left behind, whether lotion, sweat, or leftover soap, creates a barrier the transfer cannot cross evenly. The few seconds you spend here decide how well everything after it holds.
Choosing and Applying Transfer Solution
Stencil solution is what carries the ink from paper to skin, so apply it in a thin, even layer rather than a heavy one. Too much solution makes lines bleed and spread; too little leaves patches that never take. Spread a light coat over the area, wait until it turns tacky rather than wet, and only then position the stencil tattoo guide. That tacky window is the sweet spot where the paper grabs without sliding, and learning to recognize it is most of the skill.
Laying It Down Without Distortion
Place the stencil in one confident motion. Repositioning drags the still-wet transfer and doubles your lines. Smooth it from the center outward with flat, even pressure, avoiding any stretch or shear on the skin underneath. On curved areas like elbows, ribs, or ankles, have the client hold the same position they will keep during the tattoo, so the stencil matches the body in its working shape rather than a relaxed one. A stencil applied to distorted skin will look wrong the moment the client relaxes.
Letting It Set
Patience here saves the whole session. Peel the paper back slowly and check that every line came through before the client moves. Then let the stencil dry fully, often several minutes, before you touch it again. A stencil that is rushed while still damp is the one that lifts under your first wipe. If a section is faint, it is far easier to reapply now than to guess halfway through the piece.
Protecting the Stencil Mid-Session
Once you start, your own hands are the biggest threat to the transfer. Work from top to bottom and, for most artists, from the far side toward the resting hand, so your glove rides over skin you have already tattooed rather than fresh stencil. Blot with a barely damp paper towel instead of scrubbing, and keep excess ointment off the untouched lines. A light, deliberate touch keeps the map intact until you no longer need it.
How Stencify Helps Before the Transfer Even Starts
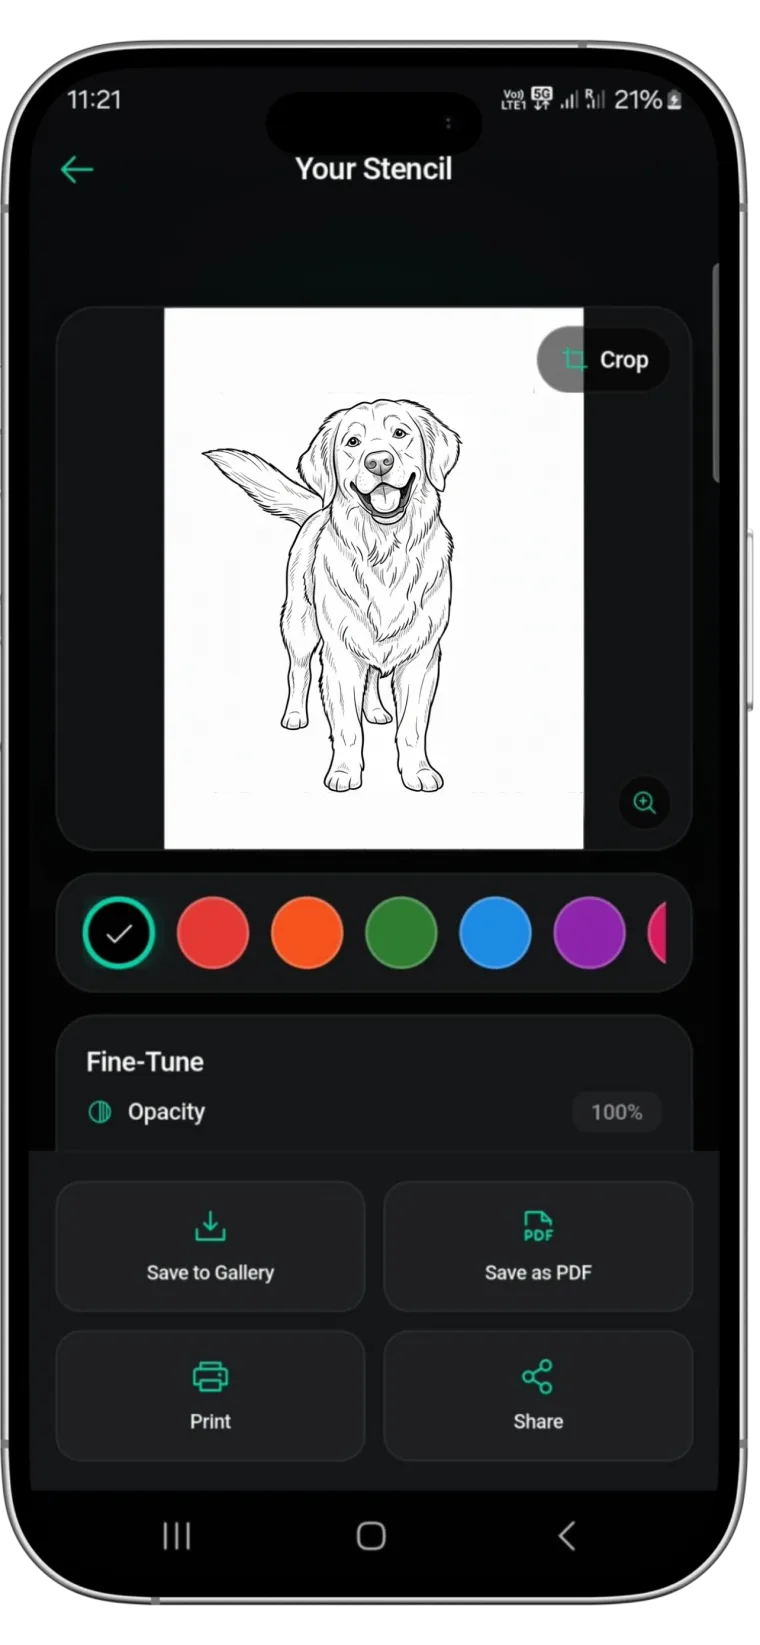
Every transfer problem is easier to avoid when the stencil itself is clean and high contrast to begin with. Stencify turns any photo or sketch into crisp, evenly weighted line work sized for standard transfer paper, so what you print is already built to hold. Sharp, well-separated lines transfer more reliably than muddy ones, and adjustable contrast means you can strengthen the stencil for tricky placements before it ever reaches the skin. A dependable image to stencil workflow removes one more variable from an already demanding job.
Ready to start every session with a stencil built to stick? Get Stencify on the App Store and print line work that survives the whole tattoo.
Related reading
- Streamlining the Transfer - optimizing reference photos for thermal printers
- Tattoo Placement and Body Flow - why your stencil must respect anatomy
- Walk-In Ready - fast stencil turnaround without cutting corners
A clean stencil, every session
Stencify converts any reference photo into print-ready line work in seconds, so the only variable left at the chair is your hand.