Tattoo Stencil Solution: What to Use, How to Apply It, and What to Avoid
• by DND Applications • 8 min read

Stencil solution is the thin layer between a printed stencil and the skin. Get it right and the stencil goes on crisp and stays through a full session. Get it wrong and it smears, lifts, or never transfers at all. This guide covers how the products work, how to apply them, the substitutes people ask about, how to remove a stencil, and the reasons a stencil will not stick.
What stencil solution does
The purple line on a stencil is carbon sitting on the back of the paper. On dry skin it mostly stays on the paper. Stencil solution gives it something to move into: a tacky film that lifts the carbon off the paper, holds it in place, and then dries into a layer that resists wiping, ointment and glove friction. The two jobs, transfer and hold, are why a thin even layer matters so much. Too little and the carbon has nothing to grab; too much and the lines float and spread.
The products
| Product | What it is | Notes |
|---|---|---|
| Stencil Stuff | The original purpose-made transfer gel, sold in small and large bottles. | Industry default. Vegan, dries to a strong hold, widely available. Prep Stuff from the same brand doubles as a skin cleanser and stencil remover. |
| Other transfer gels (Electrum Premium, Uncle Bob's, Spirit, supplier own-brands) | Gels and creams with the same purpose and similar use. | Hold and drying time vary slightly. Artists tend to settle on one and stick with it. Any reputable tattoo-supply gel works. |
| Transfer sprays | Aerosol or pump versions of the same idea. | Fast to apply over large areas; easy to overspray, which blurs lines. |
| Clear stick deodorant | The traditional substitute, unscented, clear, without antiperspirant if possible. | Works for simple designs and practice skin. Weaker hold, dries fast, not made for skin that will be broken by a needle. |
| Green soap, aloe gel, hand sanitiser | Improvised options that circulate online. | Inconsistent. Green soap alone usually gives a faint transfer; aloe gel can lift the stencil. Not recommended for client work. |
How to apply stencil solution
- Prepare the skin. Shave, clean with green soap or 70% alcohol, and let it dry completely. Any lotion, sweat or soap residue blocks the solution.
- Apply a thin layer. A pea-sized amount covers a palm-sized area. Spread it slightly beyond the design's edges with a gloved finger.
- Rub it in until tacky. The wet shine should disappear and the skin should feel sticky, not slippery. This usually takes 30 seconds to a minute.
- Place the stencil once. Carbon side down, in one motion. Do not slide it.
- Press evenly from the centre outward for 10 to 30 seconds with the flat of your hand.
- Peel slowly from one corner, checking the lines came through.
- Let it dry for at least five to ten minutes, longer in humidity, before you touch it or wipe.
The full transfer process, including the paper itself, is in how to use tattoo transfer paper.
How much is too much
Most stencil problems traced to solution are from using too much. Signs: lines that look soft or doubled immediately after peeling, carbon smeared outside the design, or a stencil that takes a long time to dry and then wipes off in one pass. If that sounds familiar, halve the amount and rub longer before placing the paper. A correctly prepared area looks almost dry.
Deodorant and other substitutes
The deodorant trick is older than most transfer gels. A clear, unscented stick deodorant applied in one light pass makes the skin tacky enough to lift carbon from hectograph paper, and it is what many artists learned on. Its limits are real: the hold is weaker, it dries fast so your placement window is short, and it was never formulated for skin about to be tattooed. Scented and antiperspirant formulas add ingredients you do not want under a needle. Use it for practice skin and simple designs; buy a proper gel for client work. A bottle lasts months and costs less than a single session.
How to remove a stencil and start again
- Wipe the area with rubbing alcohol or a dedicated stencil remover on a paper towel. Fresh stencil lifts in a few passes; set stencil takes more rubbing.
- Clean any remaining purple haze with green soap, then alcohol again.
- Dry the skin fully.
- Reapply solution and place the new stencil. A second attempt on properly cleaned skin holds as well as the first.
Why a stencil will not stick: a checklist
- Skin not shaved. Fine hair holds the paper off the skin. Shave even if it looks smooth.
- Skin not clean or not dry. Lotion, sweat and soap residue all block the transfer.
- Too much solution. Lines float and smear. Use less, rub longer.
- Too little solution or applied too long ago. The skin went fully dry before the paper arrived.
- Paper moved. Even a small slide doubles the lines. Place once, press, peel.
- Not left to dry. The first wipe lifted a stencil that was still damp. Give it ten minutes.
- Faint stencil to begin with. Light tracing pressure or a low printer darkness setting means there was little carbon to transfer. Fix the stencil, not the solution.
- Old stencil paper. Carbon that has dried out in the box transfers weakly regardless of solution.
If the stencil goes on well but fades halfway through the session, the cause is usually wiping technique or ointment rather than solution. See why stencils fail mid-session.
The other half of a good transfer
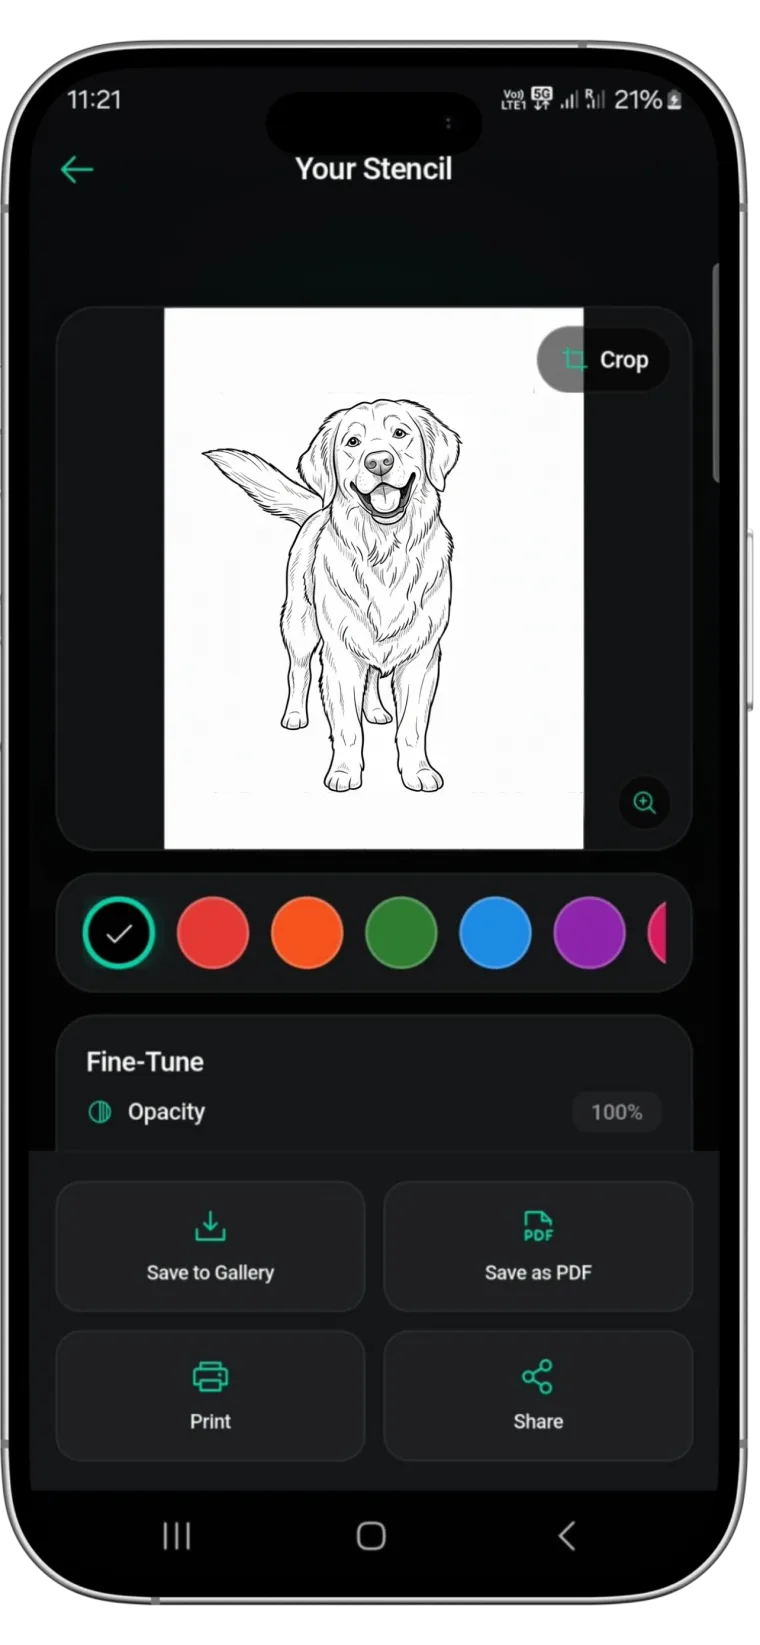
Solution carries carbon from paper to skin. How much carbon there is, and how clean its edges are, was decided when the stencil was made. Solid, evenly weighted lines transfer reliably; faint, muddy or broken lines fight you no matter what gel you use. Stencify turns a photo or sketch into that kind of line work in about 30 seconds, with adjustable line weight and contrast, and exports a PDF sized for stencil paper. It runs on iPhone, iPad and Android: get Stencify on the App Store or on Google Play.
Frequently asked questions
What is tattoo stencil solution?
A gel or liquid applied to the skin before the stencil goes on. It softens the carbon on the stencil paper so it transfers to the skin and sets into a line that survives wiping during the tattoo. Stencil Stuff is the best-known brand; most tattoo suppliers sell an equivalent transfer gel.
Can I use deodorant instead of stencil solution?
A clear, unscented stick deodorant was the traditional substitute and still works for simple designs, especially on practice skin. It dries faster and holds less than a purpose-made gel, and it is not formulated for broken or sensitive skin, so most artists use a proper stencil solution for client work.
How long should stencil solution dry before applying the stencil?
Rub it in until the wet shine is gone and the skin feels tacky, usually 30 seconds to a minute. Apply the stencil while it is tacky, not wet. Then let the transferred stencil dry for at least five to ten minutes before tattooing.
How do I remove a tattoo stencil from skin?
Rubbing alcohol or a stencil remover on a paper towel lifts fresh stencil in a few passes. Green soap works more slowly. Dry the skin fully and reapply solution before putting a new stencil on.
Why will my tattoo stencil not stick?
Usually one of four things: the skin was not clean, shaved and dry; too much or too little solution; the stencil was moved after it touched the skin; or it was not left to dry before wiping. Fix the prep and the amount first.
Related reading
- How to Use Tattoo Transfer Paper - the full transfer process step by step
- Why Stencils Fail Mid-Session - and how to prevent it
- Tattoo Stencil Paper: Thermal vs Hectograph - choosing the paper the solution works with
- Stencils That Show Up - contrast and colour for every skin tone
Half of a good transfer happens before the solution
Stencify prints solid, evenly weighted line work that transfers more reliably than a muddy stencil, whatever solution you use.