How to Make a Tattoo Stencil From a Picture
• by DND Applications • 7 min read
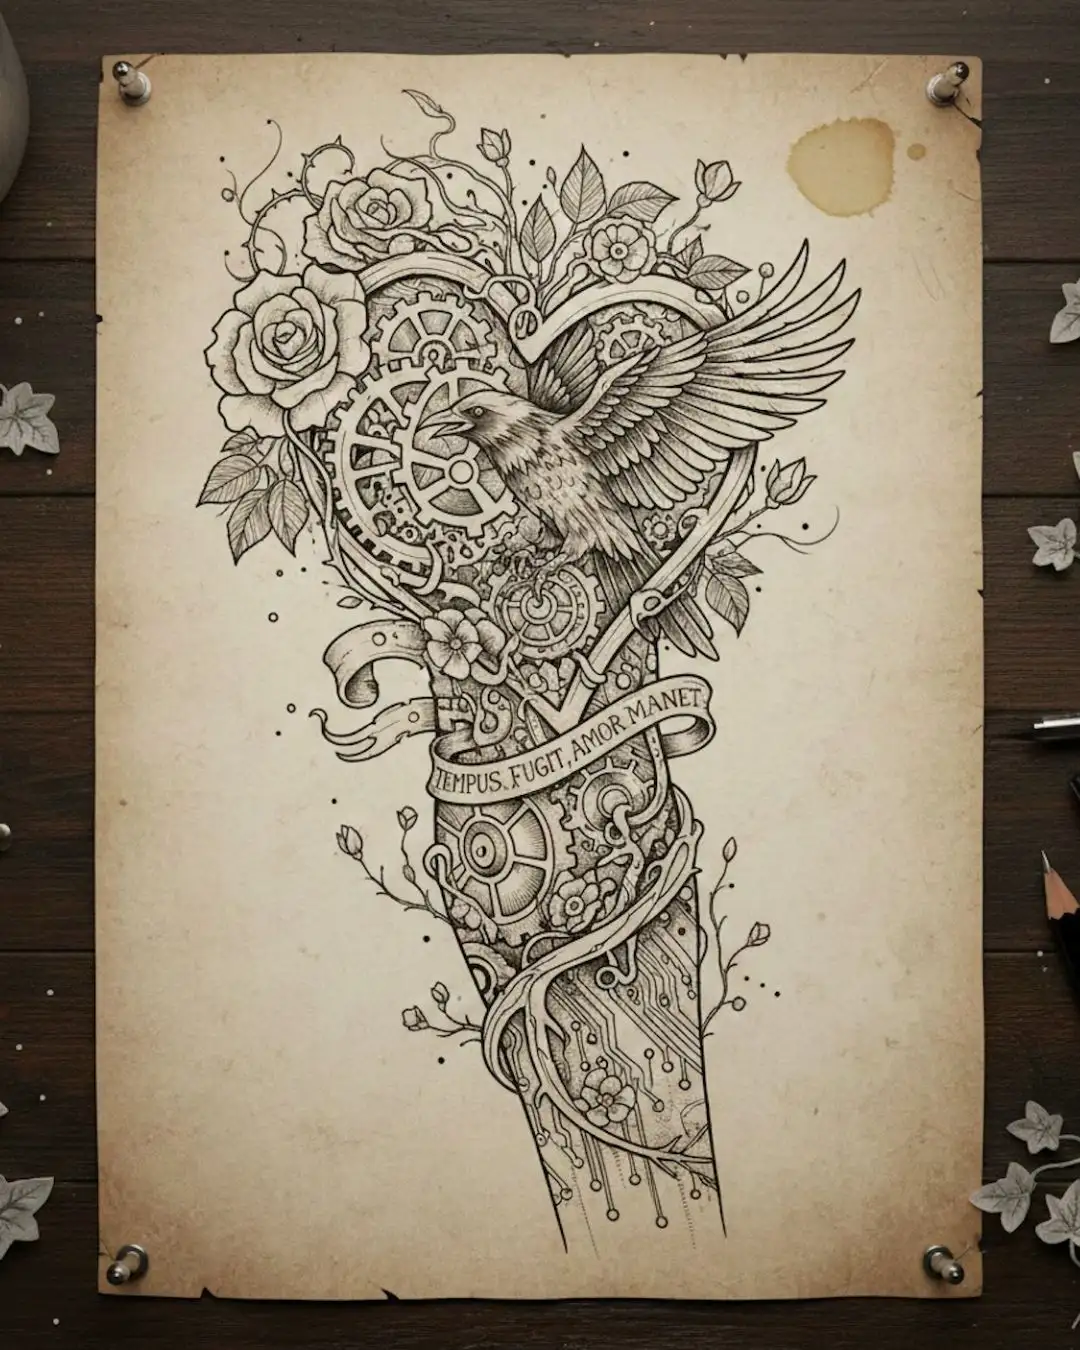
Most tattoo ideas start as a picture on a phone: a pet, a portrait, a screenshot from Pinterest. Turning that picture into a stencil means reducing it to clean black lines that will transfer onto skin and still read as the same image. This guide walks through the six steps, what to look for at each one, and where the process usually goes wrong. It works on iPhone, iPad and Android.
Before you start: what a stencil needs from a picture
A photo carries colour, shading, texture, and a background. A stencil carries only edges. The conversion is a series of decisions about which edges matter, so the better the source photo makes those decisions for you, the cleaner the result.
- Sharp focus on the subject. Blur turns into wobbly or missing lines.
- Even light. Harsh shadows become false edges that end up in the stencil.
- Separation from the background. A dog against grass converts far better than a dog against a patterned rug.
- Resolution. A photo taken on any recent phone is plenty. A small, compressed image from a chat app is not.
Step 1: Choose the right picture
If you have several photos of the subject, pick the one that already looks closest to a drawing: clear outline, visible key features, nothing important hidden in shadow. For portraits, choose a picture where the eyes and mouth are sharp; those are the lines that make a face recognisable. For pets, favour a straight-on or three-quarter view where the ears and muzzle read clearly.
Step 2: Crop to the tattoo
Crop away everything that will not be tattooed before you convert. Background objects, other people, and empty space all add edges the app has to interpret. In Stencify, the crop tool is the first screen after import, and a tight crop noticeably improves the line work.
Step 3: Convert the picture to line work
This is the step that used to take an hour in Photoshop and now takes about 30 seconds.
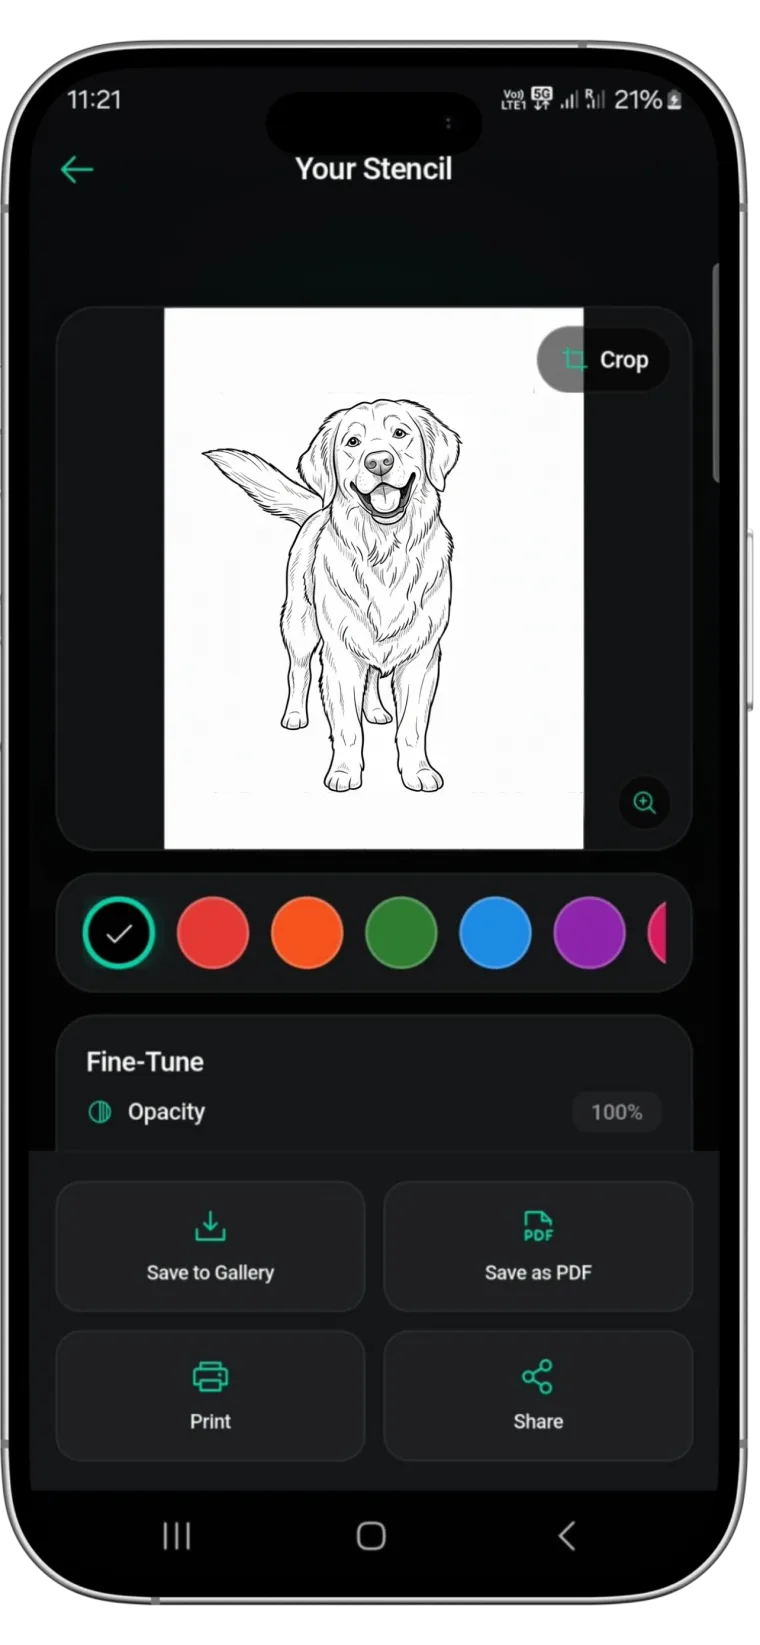
- Open Stencify and import the cropped photo from your camera roll.
- Let the app process it. It strips out colour and shading and keeps the edges that define the shape.
- Look at the result at full size. You should see the outline, the main interior lines, and nothing from the background.

If you prefer to do this by hand, the manual route is a threshold adjustment in Photoshop or a traced layer in Procreate. Our guide to making a tattoo stencil covers the Procreate steps.
Step 4: Adjust line weight and contrast
The first conversion is a starting point, not the finished stencil. Spend a minute on the controls.
- Raise contrast if lines look grey or broken. Stencil paper needs solid black.
- Thicken the lines you will tattoo bold (outlines, main shapes) and thin the ones that are only guides (shading boundaries, fur direction).
- Remove noise. Speckles in the background or texture in skin and fur will transfer as dots. Erase them now.
- Check the whole design at once. Squint at it. If the subject is still recognisable as a silhouette, the hierarchy is right.
Step 5: Set the real size and check placement
Measure the placement on the body and size the stencil to match before you export. A stencil that looks right on screen can be the wrong size on a forearm. Stencify's try-on preview lets you place the stencil on a body model or on a photo of the client so you can check proportions before printing anything. If a fine detail disappears at the real size, simplify it now rather than at the chair.
Step 6: Print to stencil paper
- With a thermal stencil printer: export the stencil as a PDF sized for your paper (A4 or letter) and print from the printer's app, or print directly from Stencify. Peel the top sheet and the stencil is ready.
- Without a stencil printer: print the stencil on plain paper at 100% scale, then trace it onto hectograph transfer paper with a ballpoint pen.
Applying the stencil to skin is its own process. Read how to use tattoo transfer paper for skin prep, stencil solution, and fixing a transfer that will not stick.
Common problems and fixes
- The stencil looks like a photocopy, all grey. The source has too little contrast. Crop tighter, raise contrast, or choose a photo with more even light.
- Half the face is missing. Shadows on the original hid the edges. Try a different photo, or hand-draw the missing lines in the app before exporting.
- Too many tiny lines. Fur, hair, and fabric texture converted into detail that will never tattoo cleanly. Thin or erase them and keep the silhouette.
- Lines break up after printing. Lines are too thin for the printer or the paper. Thicken them in the app and raise the printer darkness.
Who this is for
- Tattoo artists who receive phone photos from clients and need a clean, sized stencil before the appointment.
- Apprentices learning to see which lines in a reference matter.
- Clients who want to show an artist exactly what they mean instead of describing it.
Try it with your own picture
Stencify is built for exactly this job. Import a photo, get clean line work in about 30 seconds, adjust line weight and contrast, preview the placement, and export a PDF sized for standard stencil paper. Every new user gets two free uses to see the quality on their own picture first. It is available for iPhone, iPad and Android: get Stencify on the App Store or on Google Play.
Related reading
- How to Make a Tattoo Stencil - three methods, from app and printer to hand tracing
- How to Use Tattoo Transfer Paper - applying the stencil to skin
- 5 Essential Tips to Optimize Reference Photos - getting more from the source image
- From Photo to Linework - extracting clean stencils from complex references
Test it on your own photo
Run any picture through one of the two free uses, review the line work, and upgrade when you are ready for unlimited stencils. Available on iPhone, iPad and Android.