How to Make a Tattoo Stencil
• by DND Applications • 10 min read
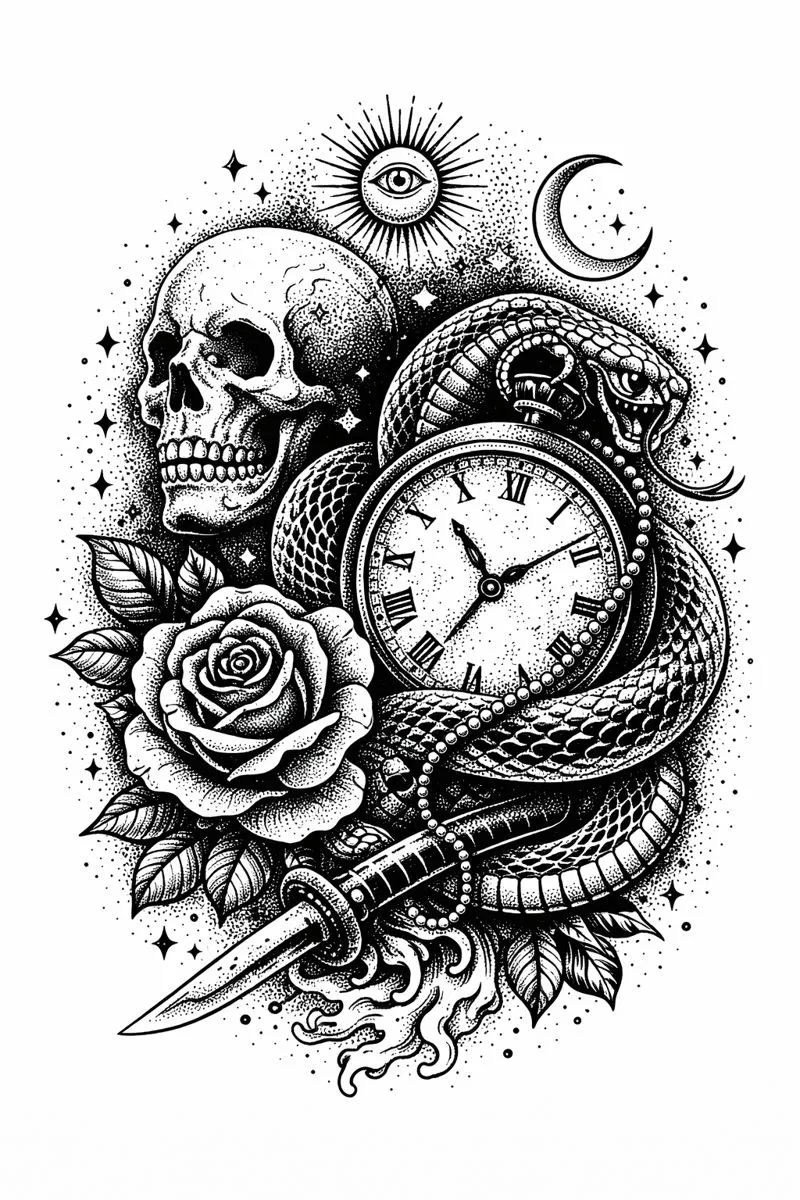
A tattoo stencil is a copy of the design in purple carbon lines that transfers onto skin, so the artist has an exact guide to follow. There are three practical ways to make one, and the right choice depends on what equipment you have and how detailed the design is. This guide walks through each method step by step, then answers the questions that come up when you are working at home, with a regular printer, in Procreate, or with no stencil paper at all.
Which method should you use?
| Method | You need | Best for |
|---|---|---|
| 1. App and thermal printer | A phone or tablet, a stencil app, a thermal stencil printer, thermal stencil paper | Detailed designs, portraits, realism, and anyone who makes stencils regularly |
| 2. Hand tracing on hectograph paper | Hectograph (carbon) transfer paper, a ballpoint pen or stylus, a printed or drawn design | Simple to medium designs, apprentices, quick fixes at the chair |
| 3. Regular printer plus tracing | Any home printer, plain paper, hectograph paper, a pen | Getting a digital design onto hectograph paper accurately without a stencil printer |
Whatever the method, the design itself has to be clean black line work at the real size before it goes anywhere near transfer paper. Shading, grey tones, and photo texture do not transfer. If you are starting from a photo, read how to make a tattoo stencil from a picture first.
Method 1: App and thermal stencil printer
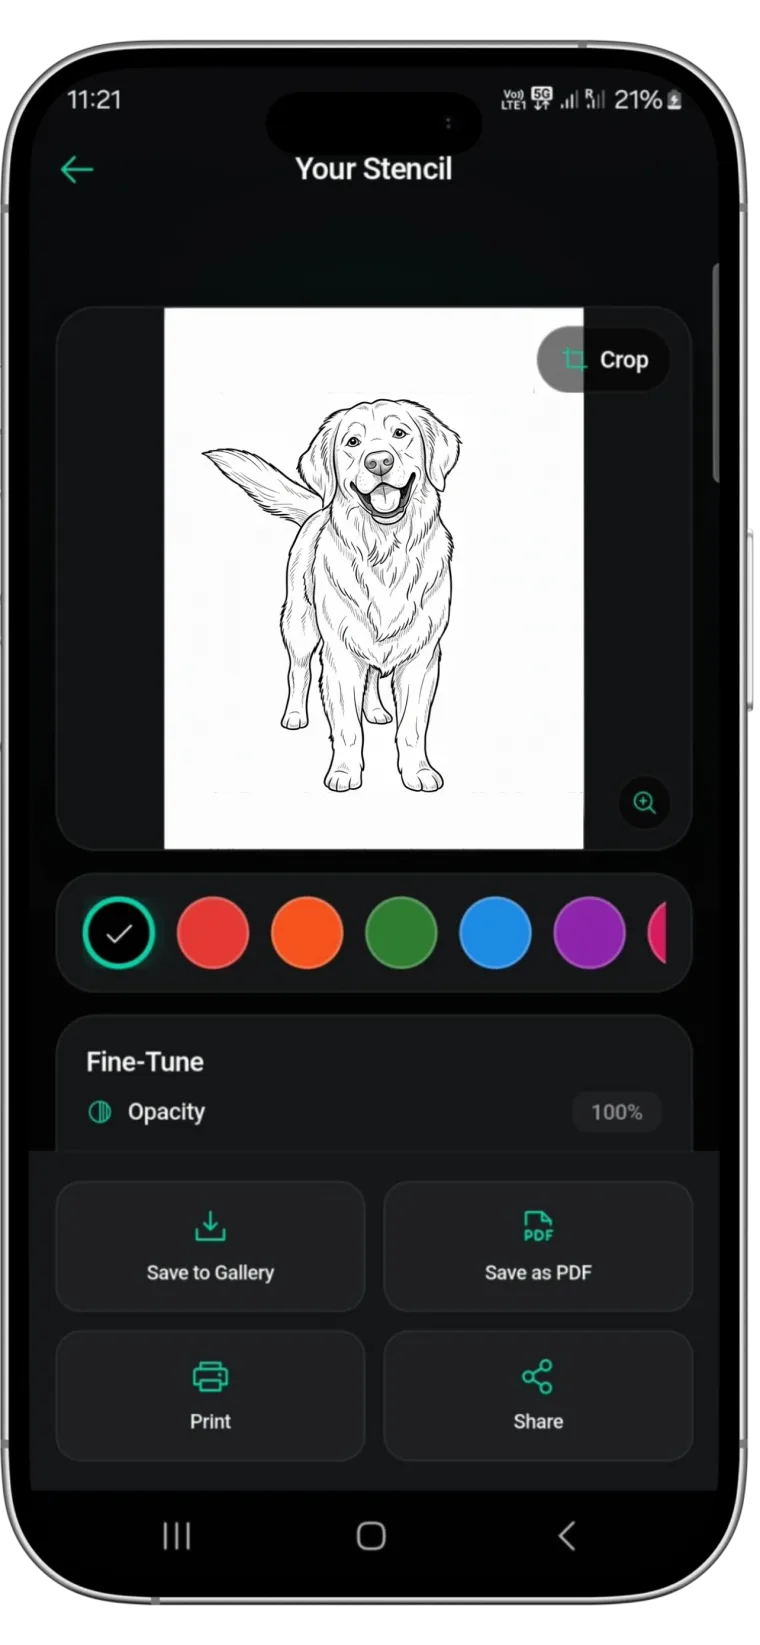
This is how most working artists make stencils today. The line work is created on a phone or tablet and printed straight onto thermal stencil paper, so there is no tracing and the line weight is consistent across the whole design.
What you need
- A stencil app on your phone or tablet. Stencify runs on iPhone, iPad and Android.
- A thermal stencil printer (Bluetooth models from Phomemo, Brother, and tattoo supply brands are common).
- Thermal stencil paper, sold in A4 or letter sheets, sometimes as rolls.
Steps
- Import the reference. Open the photo, sketch, or drawing in the app.
- Convert it to line work. In Stencify this takes about 30 seconds. The app strips out shading and colour and keeps the edges that define the design.
- Adjust line weight and contrast. Thicken lines that will be tattooed bold, thin the ones that are only guides, and remove any background noise. Fewer, clearer lines transfer better than a dense tangle.
- Set the real size. Measure the placement on the client and size the stencil to match. Use the try-on preview if the app has one to check proportions on the body part.
- Export a PDF sized for your paper, or print directly from the app to the thermal printer.
- Load the thermal paper. Remove the thin protective tissue from the sheet, keep the white top sheet, carbon, and backing together, and feed it the way the printer manual shows.
- Print, then peel the white sheet away. The stencil is the purple image on its back. If it is faint, raise the printer darkness setting and print again.
From here the stencil is applied to skin with stencil solution. That part is the same for every method and is covered in our guide to using tattoo transfer paper.
Method 2: Hand tracing on hectograph paper
Hectograph paper, often called carbon or freehand transfer paper, works with pressure instead of heat. Anything you draw firmly on the top sheet is copied in carbon onto its underside. It needs no equipment beyond a pen and is the method most apprentices learn first.
What you need
- Hectograph transfer paper (Spirit is the best-known brand; most tattoo supply shops carry an equivalent).
- A ballpoint pen or a stencil stylus. Pencils and felt tips do not press hard enough.
- The design on plain paper at final size, plus tape.
Steps
- Remove the protective tissue from the transfer paper set and throw it away. Keep the white top sheet on top, the purple carbon sheet under it, and the backing at the bottom.
- Place your design on top of the white sheet and tape both to the table so nothing shifts while you trace.
- Trace every line with firm, even pressure. Take your time on long curves. Broken lines come from light pressure; uneven pressure gives lines that transfer at different strengths.
- Check before you untape. Lift one corner of your design and the white sheet together to make sure every line has carbon behind it. Missed lines are easy to add now.
- Peel the white top sheet away from the carbon and backing. The purple image on its underside is your stencil.
You do not need to mirror the design. The carbon copy on the back of the top sheet is already reversed, so it reads correctly once it is pressed onto skin.
Method 3: Regular printer plus tracing
A home inkjet or laser printer cannot print onto stencil paper; the paper is not made for it and the carbon layer will not take ink. What a regular printer does well is get a digital design onto plain paper at exactly the right size, which turns hand tracing from a guessing game into a copying job.
Steps
- Finish the line work digitally in Stencify, Procreate, or any drawing app. Keep lines solid black on white.
- Print at 100% scale on plain paper. Turn off "fit to page" so the size is exact, and measure the printout against the planned placement.
- Trace it onto hectograph paper using the steps in Method 2.
You may also see the "deodorant trick": print the design mirrored on plain paper with an inkjet, apply stick deodorant or stencil solution to the skin, and press the paper on. Some ink does transfer, but the result is faint, patchy, and easy to wipe off. Treat it as a last resort for a simple design, not a way to skip transfer paper.
How to make a tattoo stencil at home
At home usually means no thermal printer and maybe no tattoo supplies at all. Method 2 is the answer: a pack of hectograph paper costs about the same as a coffee and works with a ballpoint pen. If you have a home printer, add Method 3 so your tracing starts from an accurately sized printout. The one thing not to skip is the transfer itself: clean, shaved, dry skin and a thin layer of stencil solution matter as much at home as they do in a studio.
How to make a tattoo stencil with regular paper
Regular paper cannot transfer a design on its own because it has no carbon layer. Use it for the design and hectograph paper for the transfer. Draw or print on regular paper, lay it over the hectograph set, trace, and apply. If you genuinely have only regular paper, the alternatives are drawing the design directly on skin with a skin-safe marker, or the inkjet and deodorant trick described above, with its limits.
How to make a tattoo stencil in Procreate
- Create a canvas at the real print size (for example 210 by 297 mm at 300 dpi for A4 stencil paper).
- Import the reference and lower its opacity.
- Trace on a new layer with a solid black monoline brush. Vary the brush size where the tattoo will have bold and fine lines.
- Hide the reference layer and check the drawing against a white background. Remove stray marks.
- Export as PNG or PDF at full resolution.
- Print to thermal stencil paper (Method 1), or print on plain paper and trace onto hectograph paper (Method 3).
If the Procreate drawing has soft edges or grey tones, run the export through Stencify first. It converts the drawing to crisp black lines and lets you set line weight before printing.
How to make a tattoo stencil without stencil paper
There are two honest options. The first is freehand: draw directly on the skin with a skin-safe marker, using a printed reference and a few measured guide marks for proportions. This suits bold, simple designs and is a skill worth having for placement corrections. The second is the inkjet and deodorant trick, which gives a faint, unreliable guide and is only worth trying for something simple. For anything with fine detail, order hectograph paper and wait for it; it is the cheapest part of the whole process and the results are not comparable.
Common mistakes that ruin a stencil
- Leaving shading in the design. Grey areas turn into smudges on transfer paper. Convert everything to lines first.
- Printing at the wrong size. Always check "actual size" or 100% in the print dialog and measure the output.
- Forgetting to remove the tissue layer from the transfer paper set. The tissue blocks the carbon and the stencil comes out blank.
- Tracing too lightly. Press hard enough that you can feel the pen bite into the paper.
- Applying to unprepared skin. Hair, lotion, and sweat stop the stencil from sticking no matter how good the paper is.
The fastest way to clean line work
Every method above starts with the same requirement: solid black lines at the right size. Stencify does that step in about 30 seconds from a photo or sketch, with controls for line weight and contrast, a try-on preview for placement, and PDF export sized for standard stencil paper. It is available for iPhone, iPad and Android: get Stencify on the App Store or on Google Play.
Frequently asked questions
How do I make a tattoo stencil at home?
Print or draw the design at final size, place it over a sheet of hectograph transfer paper with the tissue layer removed, and trace every line with a ballpoint pen using firm pressure. Peel off the top sheet and apply the carbon side to skin prepared with stencil solution. If you have a thermal stencil printer, make the line work on your phone and print it instead of tracing.
Can I make a tattoo stencil with a regular printer?
A regular inkjet or laser printer cannot print on stencil paper, but it can print your design on plain paper at final size, which you then trace onto hectograph paper by hand. Printing mirrored on plain paper and pressing it onto skin prepared with stencil solution can leave a faint guide, but it is unreliable and not a substitute for real transfer paper.
How do I make a tattoo stencil without stencil paper?
The safe option is to draw the design directly on the skin with a skin-safe marker, using a printed reference and a ruler or grid for proportions. Freehand works for simple, bold designs. For anything detailed, order hectograph paper; it is inexpensive and the results are far more accurate.
How do I make a tattoo stencil in Procreate?
Set the canvas to the real print size, trace the reference on a new layer with a solid black brush, hide the reference, and export a PNG or PDF. Print it on thermal stencil paper, or print on plain paper and trace onto hectograph paper. You can also import the export into Stencify to clean up line weight before printing.
Related reading
- How to Use Tattoo Transfer Paper - applying the stencil to skin and fixing transfers that will not stick
- How to Make a Tattoo Stencil From a Picture - turning a client photo into clean line work
- Best Tattoo Stencil Printers - thermal vs inkjet and the models artists buy
- Tattoo Stencil Paper: Thermal vs Hectograph - which paper to buy for your method
- How to Make a Tattoo Stencil in Procreate - canvas setup, stencil layer, export
- Tattoo Stencils 101 - fundamentals from start to finish
- How to Size and Print a Tattoo Stencil at Actual Size - measuring the placement and printing at 100%
- How Tattoo Artists Make Stencils, Step by Step - the full studio process with timings
- Tattoo Stencil Without Transfer Paper - preview methods when you have no paper
Skip the tracing
Stencify turns any photo or sketch into print-ready line work in about 30 seconds, sized for standard stencil paper.