How to Make a Tattoo Stencil in Procreate
• by DND Applications • 8 min read
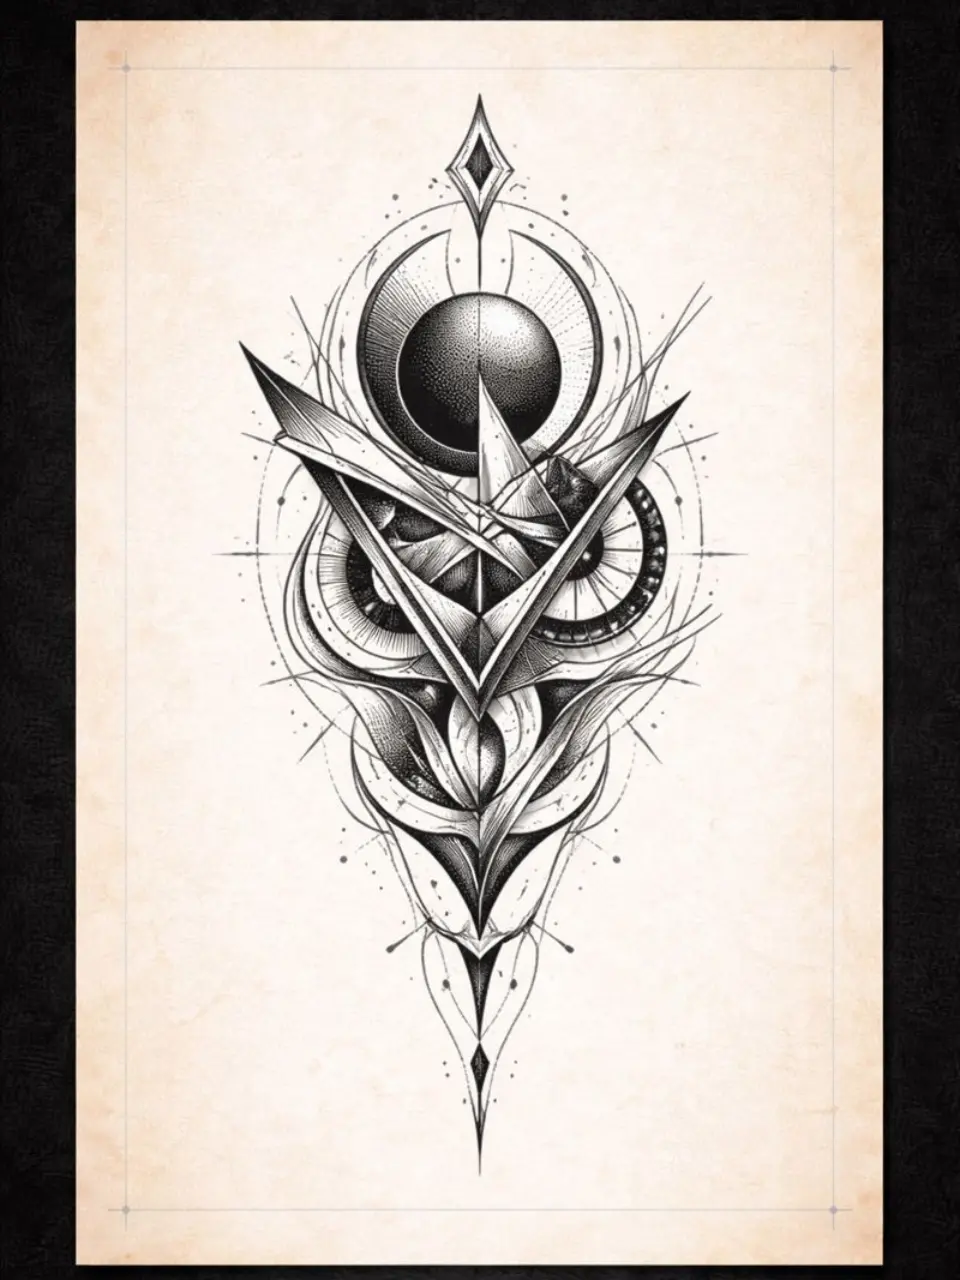
Procreate is where a lot of tattoo designs get drawn, but a drawing and a stencil are not the same file. A stencil needs solid black lines at real size, nothing grey, nothing textured, and a layout that prints cleanly on stencil paper. This guide walks through setting up the canvas, drawing the stencil layer, exporting, and printing, plus the faster route when you want the cleanup done for you.
Before you start: what a stencil layer needs
- Solid black on white. Thermal stencil paper transfers black and ignores most grey. Every line you want on skin should be 100% black.
- Real size. Draw at the size the tattoo will be. Scaling a small drawing up later makes lines fuzzy.
- Consistent line weight within each line type: outlines one weight, secondary lines a thinner one.
- No texture brushes on the stencil layer. Chalk, pencil and ink-splatter brushes produce broken edges that transfer as dots.
Step 1: Set up the canvas at print size
- Tap the plus button and choose Create custom size.
- Enter the real dimensions. For A4 stencil paper use 210 by 297 mm; for US letter use 8.5 by 11 in. If the tattoo is small, you can still use a full sheet and place the design where you want it.
- Set DPI to 300. This gives enough resolution for a 300 dpi thermal printer and more than enough for 203 dpi models.
- Choose sRGB as the colour profile. Colour does not matter for the stencil, but sRGB keeps exports predictable.
If you already drew the design on a different canvas, use Actions, Canvas, Crop and Resize, turn on Resample, and enter the real size. Check the result at 100% zoom; if the lines blurred, you will need to retrace them.
Step 2: Place the reference
- Import the reference (Actions, Add, Insert a photo or file) onto its own layer.
- Resize it with the Transform tool so it matches the real tattoo size. A ruler on the client's arm and a ruler on screen is the simplest check.
- Lower the reference layer's opacity to around 30 to 40% so you can trace over it without losing your own lines.
- Lock the layer so you do not move it by accident.
Step 3: Draw the stencil layer
- Add a new layer above the reference and name it "Stencil".
- Pick a monoline brush: Calligraphy, Monoline is built in, or use a dedicated stencil brush. Set pressure sensitivity for size and opacity to zero so every stroke is the same weight.
- Set the colour to pure black.
- Trace the outlines first at your main weight, then drop the brush size and add secondary lines and guides. Keep guide lines thin and few; you only need enough to place the shading.
- Use StreamLine (in the brush settings) at a moderate level for smooth curves without losing control.
- Turn Drawing Guide on with symmetry for symmetrical designs such as mandalas and sacred geometry.
Step 4: Check it reads as a stencil
- Hide the reference layer. Look at the stencil on white.
- Zoom out until the design is roughly the size of your thumbnail. If the subject is still recognisable, the line hierarchy is right. If it turns into a grey mass, remove lines.
- Zoom to 100% and look for gaps, overlapping strokes and stray marks. Clean them with the eraser set to the same monoline brush.
- Make sure there is no grey anywhere. If you used any transparency, duplicate the layer and merge it onto itself a couple of times to push the lines to solid black, or threshold it in a stencil app afterward.
Step 5: Export
- Keep only the Stencil layer visible, on a white background layer (or transparent, if your printer app prefers it).
- Actions, Share, PDF (Best quality) for direct printing, or PNG if you are sending it to another app first.
- Do not resize on export. The file should still be the real print size.
Step 6: Print or trace
- Thermal stencil printer: load thermal stencil paper (tissue layer removed), print the PDF at 100% from the printer app or your iPad's print dialog, and peel the top sheet. Our stencil printer guide covers printer choice and settings.
- No printer: print on plain paper at 100%, then trace onto hectograph transfer paper with a ballpoint pen. Steps are in how to make a tattoo stencil.
Then apply it with stencil solution as described in how to use tattoo transfer paper.
The faster route: Procreate for the drawing, a stencil app for the stencil
Steps 3 and 4 are where the time goes. Tracing a detailed design cleanly at a single weight, then hunting for grey pixels and gaps, can take longer than drawing it did. The alternative many artists use: draw freely in Procreate, with whatever brushes you like, then let a stencil app do the conversion.
- Export the finished drawing from Procreate as a PNG at full size.
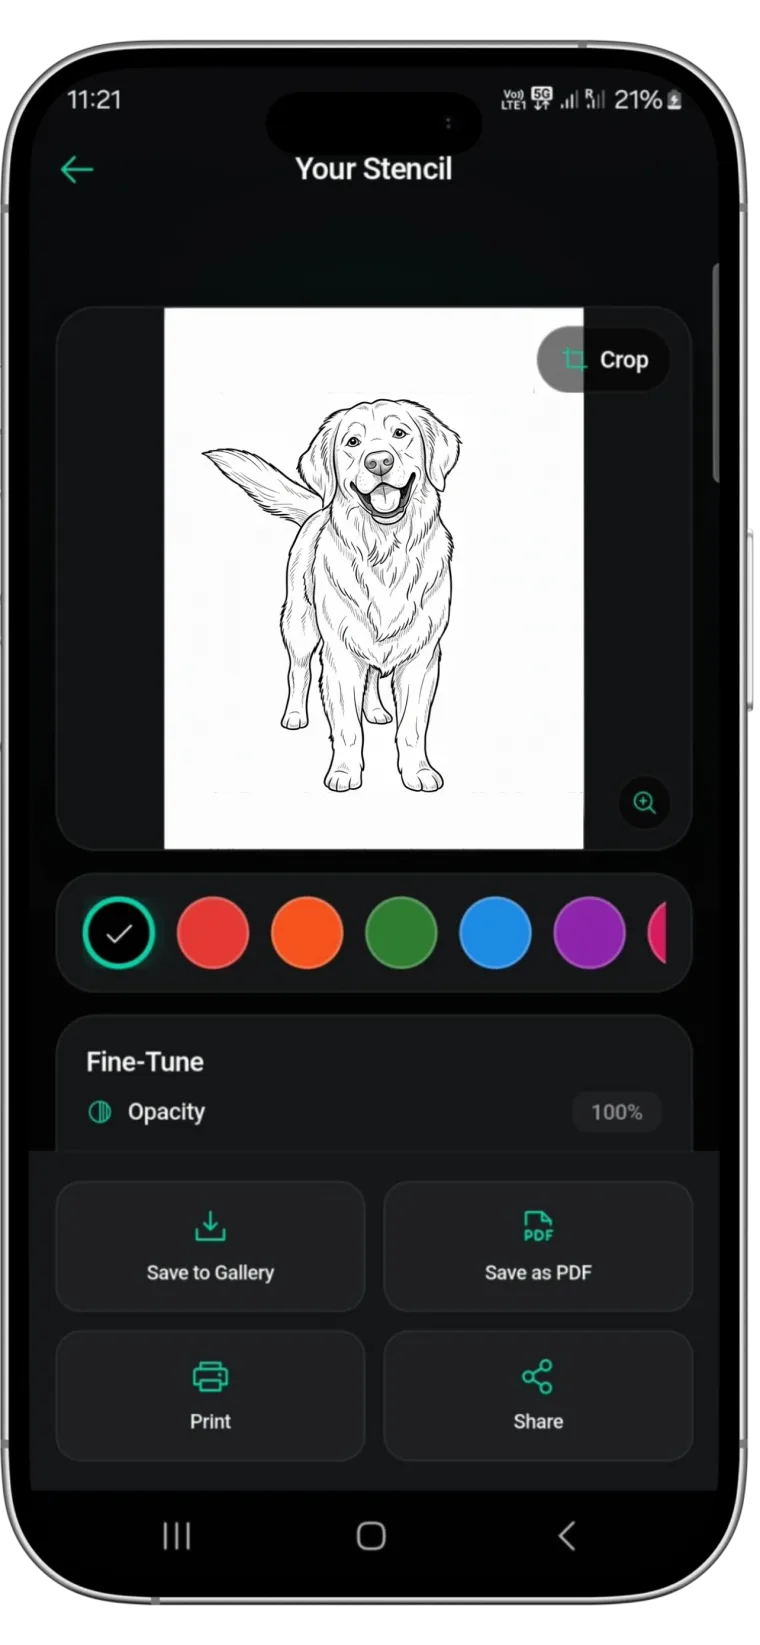
- Import it into Stencify.
- The app converts it to solid black line work in about 30 seconds, stripping texture and grey.
- Adjust line weight and contrast, preview it on a body model or client photo to check size, and export a PDF sized for A4 or letter stencil paper.
- Print or trace as above.
This also works when the design is not a drawing at all but a client photo; see how to make a tattoo stencil from a picture.
Common Procreate stencil mistakes
- Drawing on a screen-size canvas and scaling up. Lines go soft. Set the real size first.
- Pressure-sensitive brushes on the stencil layer. Line weight wanders and thin ends break up on transfer.
- Leaving shading in. Shading guides belong as thin lines, not grey fills.
- Exporting with the reference visible. The photo prints too. Hide every layer but the stencil.
- Mirroring unnecessarily. Stencil paper reverses the design for you; mirroring again puts it on backwards.
From Procreate to skin without the cleanup
Stencify takes the export from Procreate, or any photo or sketch, and produces clean, evenly weighted line work sized for stencil paper in about 30 seconds. Line weight and contrast are adjustable, try-on shows placement before you print, and output is a PDF ready for a thermal printer. It runs on iPhone, iPad and Android: get Stencify on the App Store or on Google Play.
Frequently asked questions
What canvas size should I use for a tattoo stencil in Procreate?
Set the canvas to the real print size at 300 dpi. For A4 stencil paper that is 210 by 297 mm; for US letter, 8.5 by 11 in. Draw the design at the size it will be tattooed so nothing has to be scaled later.
Which Procreate brush is best for tattoo stencils?
A hard, round monoline brush with no opacity or size jitter, such as the Monoline brush in the Calligraphy set, or any dedicated stencil brush pack. Avoid textured and pressure-sensitive brushes for the final stencil layer.
Do I need to mirror a Procreate design before printing a stencil?
No, not for thermal or hectograph stencil paper. The carbon copy lands on the back of the top sheet already reversed and reads correctly on skin. Only mirror if you are printing on plain paper to press directly onto skin.
Can I turn a Procreate drawing into a stencil without a printer?
Yes. Export it, print on plain paper at 100%, and trace it onto hectograph transfer paper by hand. Or import the export into a stencil app to clean the lines, then print or trace.
Related reading
- How to Make a Tattoo Stencil - the three methods explained
- How to Make a Tattoo Stencil From a Picture - when the reference is a photo
- Best Tattoo Stencil Printers - printing the Procreate export
- Fine Line to Bold Traditional - line weight by tattoo style
Finish the stencil on your phone
Export from Procreate, import into Stencify, and get clean, evenly weighted line work sized for stencil paper in about 30 seconds.