How Tattoo Artists Make Stencils, Step by Step
• by DND Applications • 8 min read
Every tattoo starts as a stencil, and every working artist has a routine for making one. The routine has not changed in its outline for decades: get the design into clean lines, size it to the body, print it onto transfer paper, prepare the skin, press, peel, check. What has changed is the first step. Line work that used to take an evening of tracing on a lightbox now takes about 30 seconds in a stencil app. Here is the whole process as artists actually do it, step by step, with the time each stage takes.
Key takeaways
- Five stages: line work, sizing, printing, skin prep, transfer. The first used to be the slowest and is now the fastest.
- Line work is a reduction job: keep the edges the needle will follow, drop the shading the needle will create.
- Print on thermal transfer paper at 100%. The purple carbon layer is what transfers to the skin.
- Skin prep decides whether the stencil survives the session: shave, clean, apply stencil solution, press once, wait before touching.
Stage 1: Line work, from reference to clean lines
The client arrives with a photo, a screenshot, a drawing, or an idea. The artist's first job is to turn it into line work the machine can follow: solid outlines where the needle will go, lighter guide lines where shading starts and stops, and nothing else. Shading, colour, texture and background all come out, because the stencil marks where to put ink, not what the finished piece looks like.
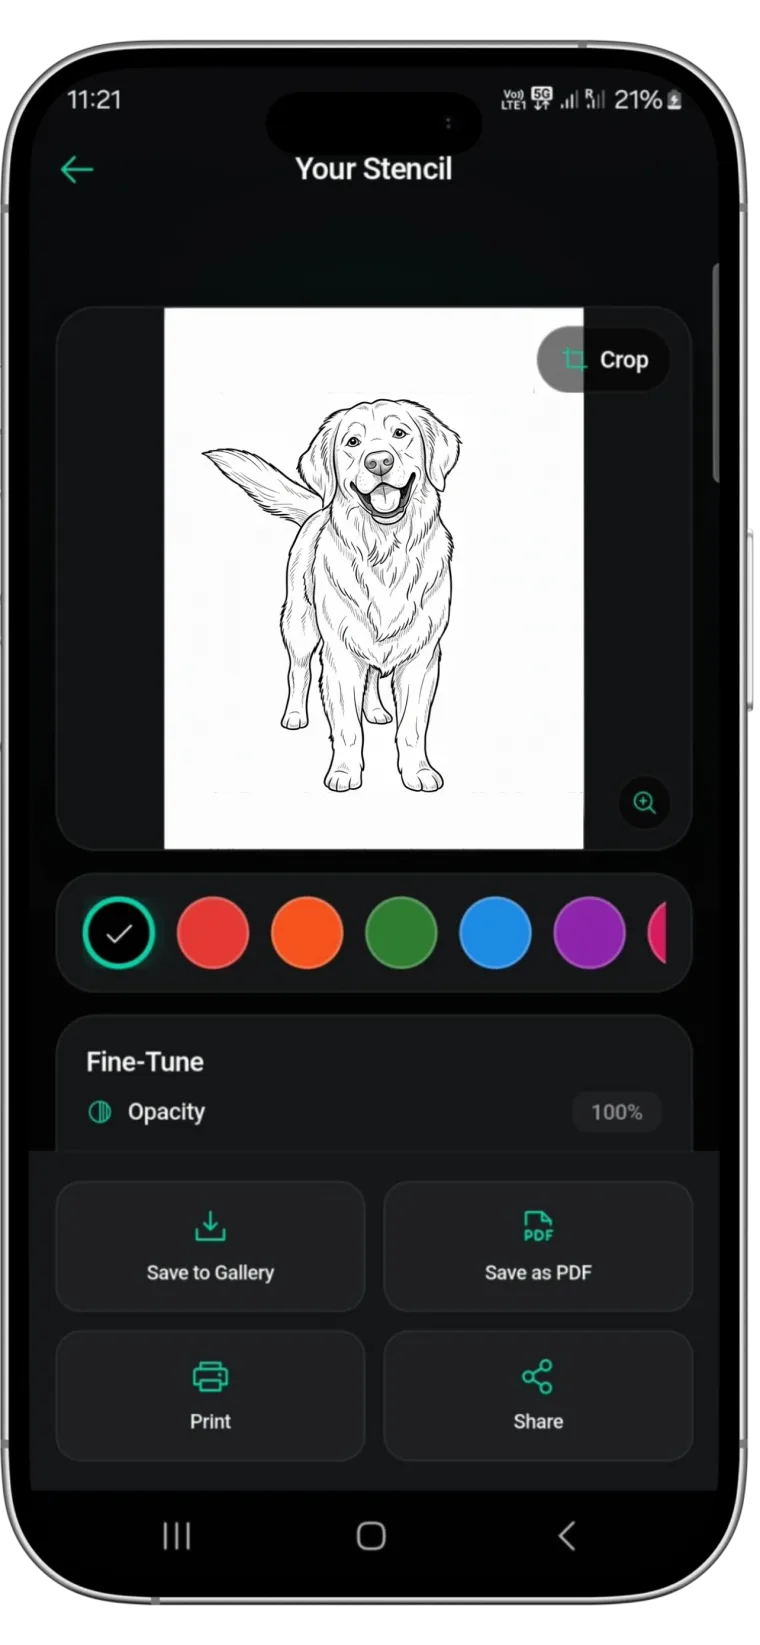
For years this meant tracing on a lightbox or in a drawing app, reducing a photo by hand over an hour or more. Today most artists convert the reference in a stencil app. Stencify takes a photo or sketch, extracts clean, evenly weighted line work in about 30 seconds, and lets you set line weight and contrast so the result matches how you work. The artist then spends a few minutes cleaning up, not an evening redrawing. Our photo-to-stencil guide covers what makes a reference convert well.
Stage 2: Sizing to the body
The artist measures the placement with a tape, decides the margin, and sizes the design to that number. Many then check the size with a try-on preview on a photo of the client or with a plain-paper print held against the skin. This stage takes five minutes and prevents the single most common reprint. The full method is in how to size and print a stencil at actual size.
Stage 3: Printing on thermal transfer paper
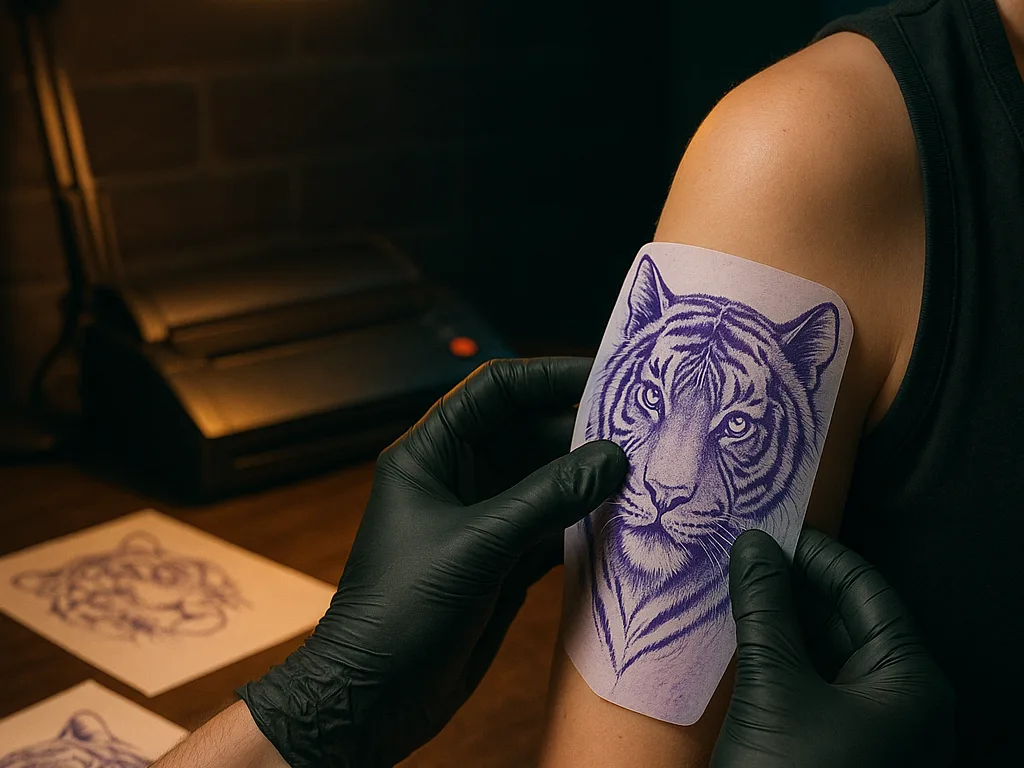
The design goes to a thermal stencil printer loaded with thermal transfer paper. The printer burns the lines into the paper's carbon layer, which is the purple that ends up on the skin. Printing is at 100% scale, never fit to page. Artists without a thermal printer print on plain paper and trace onto hectograph paper by hand, which works but adds twenty minutes; see the stencil printer guide for the hardware and the paper guide for the difference between thermal and hectograph sheets.
Stage 4: Skin prep
The area is shaved, cleaned with green soap or an alcohol wipe, and dried. A thin, even layer of stencil solution goes on and is allowed to go tacky, which takes about thirty seconds to a minute depending on the product. Too much solution and the lines smear; too little and they do not take. This is the stage that decides whether the stencil is still legible at the end of a three-hour session. Our stencil solution guide compares the products.
Stage 5: Transfer
The artist positions the stencil with the client standing or sitting as they will be in daily life, because skin shifts with posture. One firm press from the centre outward, hold for a few seconds, then peel from one corner in a single motion. The stencil needs five to ten minutes to set before anything touches it. If the placement is wrong, the lines are wiped off with alcohol, a fresh stencil is printed, and the process repeats, which is why sizing and try-on earlier save so much time.
How long the whole thing takes
| Stage | Tracing by hand | With a stencil app |
|---|---|---|
| Line work | 1 to 3 hours | About 30 seconds, plus a few minutes of cleanup |
| Sizing and check | 5 to 10 minutes | 2 to 5 minutes with try-on |
| Printing | 2 minutes | 2 minutes |
| Skin prep and transfer | 10 minutes | 10 minutes |
The hands-on stages have not changed. The desk stage has gone from the longest part of the job to the shortest, which is the whole case for a stencil app.
Do the line work in Stencify
Stencify runs on iPhone, iPad and Android, converts a photo, sketch or text description into clean stencil line work, previews it on a body model or your client's photo, and exports a PDF sized for stencil paper. The first two uses are free: get Stencify on the App Store or on Google Play.
Frequently asked questions
How do tattoo artists make stencils?
They reduce the reference to clean line work, size it to a measurement taken on the body, print it on thermal transfer paper at 100%, prepare the skin with stencil solution, and press the paper on once. The line work step is now usually done in a stencil app rather than by tracing.
What do tattoo artists use to print stencils?
A thermal stencil printer loaded with thermal transfer paper. Artists without one print on plain paper and trace onto hectograph paper by hand.
How long does it take to make a tattoo stencil?
With a stencil app, a few minutes for line work and sizing plus about ten minutes for printing, skin prep and transfer. Tracing by hand adds one to three hours to the line work stage.
Do tattoo artists still draw stencils by hand?
Some do, especially for custom designs drawn from scratch. For client references such as photos and screenshots, most now convert in an app and clean up by hand, because the result is the same and the time saved is hours.
Related reading
- How to Make a Tattoo Stencil - three methods, including without a printer
- How to Size and Print a Tattoo Stencil - the sizing stage in detail
- How to Use Tattoo Transfer Paper - the transfer stage in detail
- Tattoo Stencil Solution Guide - which transfer gel to use
The line work step, done in 30 seconds
Stencify turns a photo or sketch into clean, print-ready stencil lines, with try-on and PDF export for stencil paper.