Why Stencils Fail Mid-Session (and How to Prevent It)
• by DND Applications • 5 min read
Few things slow a session like watching your guide lines disappear before the tattoo is finished. A failing tattoo stencil forces you to reconstruct placement from memory, and that is exactly when small errors creep in. Most mid-session failures trace back to a handful of preventable causes. Knowing them turns a stressful save into a problem you never have in the first place.
Cause 1: The Skin Was Not Prepped
The most common culprit shows up before the needle does. Oils, lotion, sweat, or leftover soap leave a film that keeps the transfer from bonding, so the stencil sits on the surface and wipes away early. Shave the area, clean it thoroughly, and let it dry completely before applying anything. A properly prepped surface is the single biggest factor in whether a stencil survives.
Cause 2: Too Much Ointment
Heavy ointment is the enemy of a fresh stencil. Thick layers float the transfer off the skin and smear it as your hand moves. Use a thin film, reapply sparingly, and keep it away from lines you have not tattooed yet. The area ahead of your needle should stay as clean and dry as the setup allowed, so the guide is still there when you reach it.
Cause 3: Wiping Too Hard
Aggressive wiping erases stencil and progress alike. Scrubbing at the skin to clear excess ink drags across nearby guide lines and lifts them. Blot gently with a barely damp towel instead, moving in one direction rather than scrubbing back and forth. A softer touch keeps the map intact through the parts of the piece you still need it.
Cause 4: A Weak Stencil to Begin With
Sometimes the failure is baked in before the session starts. A faint, low contrast, or thinly transferred stencil tattoo guide has less to lose before it becomes unreadable. If the line work was already pale on the paper, it will not last long on the skin. Starting from crisp, high contrast line work gives the stencil a margin that thin lines simply do not have.
Cause 5: Working in the Wrong Direction
Your own hand can rub out the path ahead of you. Resting a glove on untouched stencil, or working back across finished-but-still-wet areas, smears the lines you are about to need. Plan the order of the piece so you move over skin you have already tattooed, keeping fresh stencil clear of your hand until you reach it.
Prevention Starts Before the Ink
Every fix above is easier when the stencil is strong from the start. Skin prep, light ointment, and gentle wiping protect a good stencil, but they cannot rescue a bad one. The most durable stencil is a clean, high contrast transfer built on sharp digital line work, printed at the right size for your paper. Get that foundation right and the mid-session save becomes a rare event instead of a routine one.
How Stencify Helps
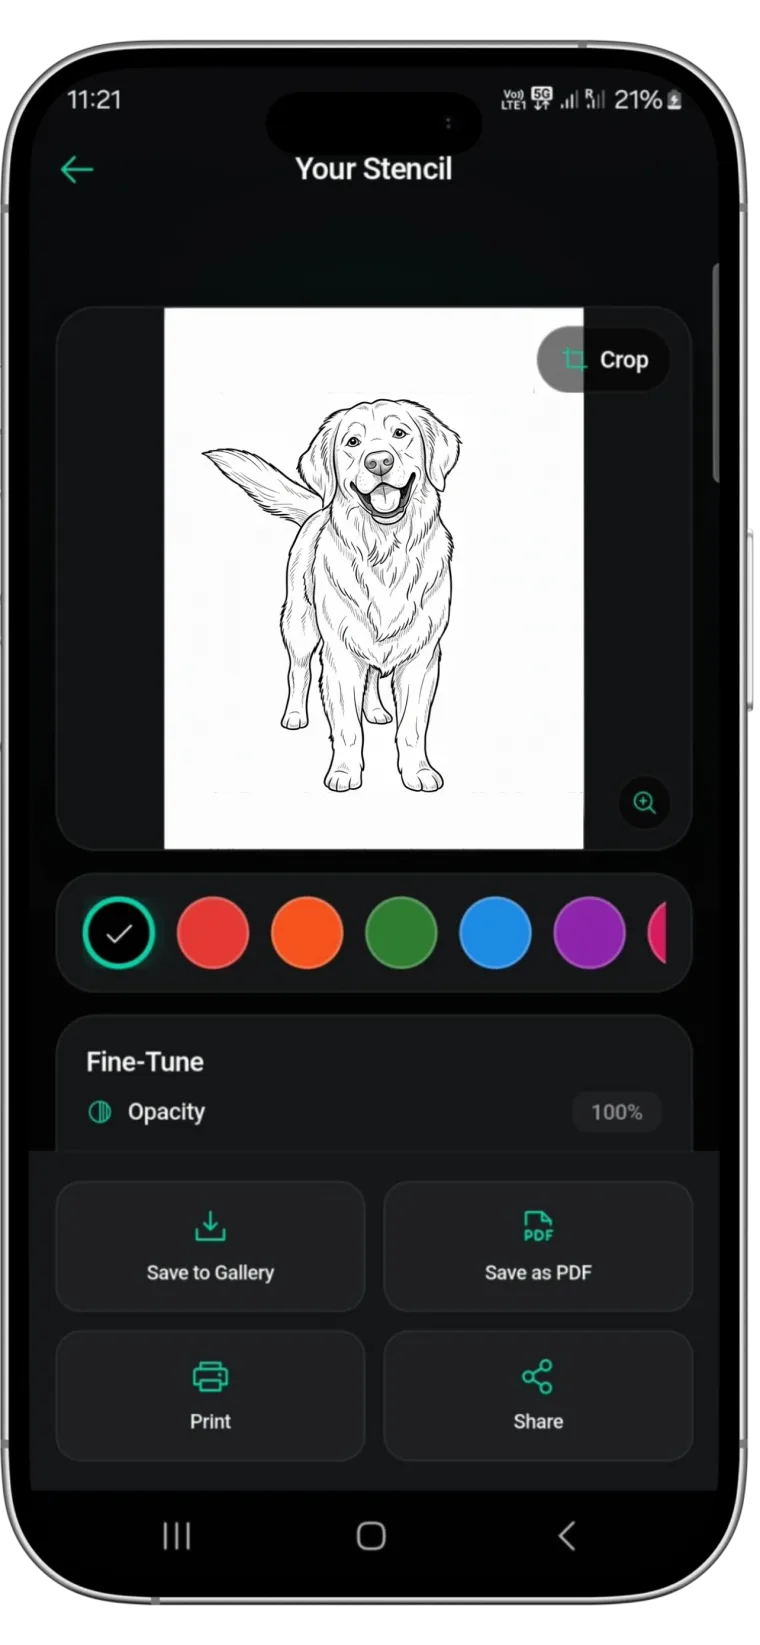
Stencify gives every session a stronger starting point by turning any reference into clean, high contrast line work with adjustable weight and clarity. A sharper stencil on the paper means a more durable one on the skin, so you spend the session tattooing instead of reconstructing lost lines. A reliable image to stencil workflow is the cheapest insurance against a stencil that quits halfway through.
Tired of stencils that fade before the final pass? Get Stencify on the App Store and start with line work built to last.
Related reading
- Getting the Stencil to Stick - a practical guide to clean transfers on skin
- Streamlining the Transfer - optimizing reference photos for thermal printers
- Refining the Chaos - essential techniques for clean line work in stencil prep
A stencil that lasts the session
Stencify turns any reference into sharp, high contrast line work in seconds, so your guide is still there at the final pass.