Stick and Poke Stencils: How to Make One and Get It Onto Skin
• by DND Applications • 8 min read
Stick and poke tattoos are slow, which is exactly why the stencil matters. A machine artist can correct a line as it goes; a hand poke is one dot at a time, following whatever plan is on the skin. If the plan is a wobbly marker sketch, the tattoo is a wobbly marker sketch forever. This guide covers how to make a proper stencil for a hand-poke piece and get it onto skin cleanly, with the safety basics first because nothing else matters if those are wrong.
Key takeaways
- Sterile single-use needle, sterile tattoo ink, gloves, clean skin prep. No exceptions, no sharing.
- Draw the design at the real size, keep it simple and open, then make the stencil with hectograph paper or a stencil app and printer.
- Transfer with stencil solution, not deodorant, and let it dry fully before the first poke.
Safety before stencils
Hand poking breaks the skin just as a machine does. Everything that touches the area must be sterile or single use.
- Needle: a sealed, sterile, single-use tattoo needle or hand-poke needle. Never a sewing needle, never reused, never shared.
- Ink: sterile tattoo ink from a tattoo supplier, decanted into a fresh ink cap. Never pen ink, India ink from an art shop, or anything improvised.
- Hands and surface: gloves, a clean barrier on the work surface, hair tied back.
- Skin: shaved, cleaned with green soap or alcohol, dried.
- Aftercare: a thin layer of fragrance-free ointment, clean for two weeks, no soaking.
If any item on that list is not available, the right answer is a professional, not a workaround.
Step 1: Choose a design that suits hand poking
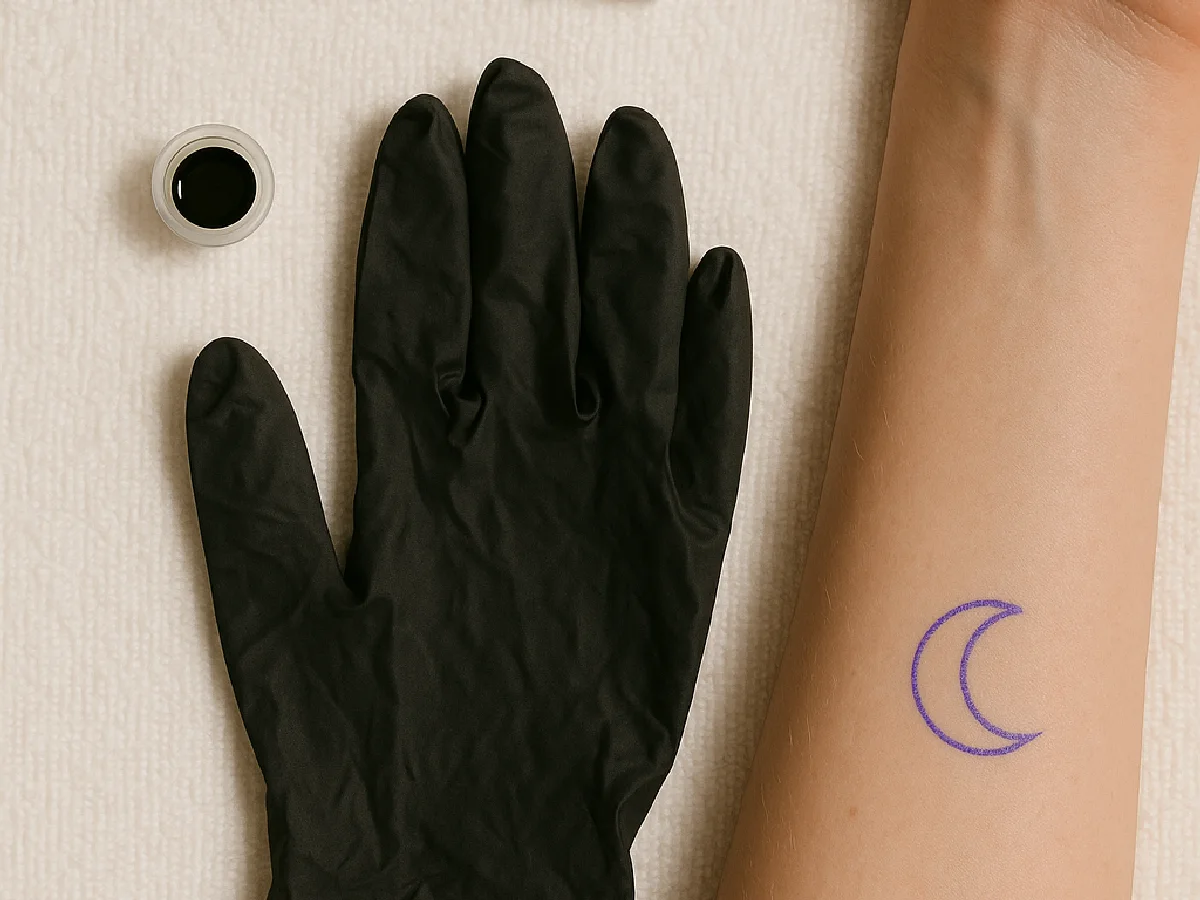
Stick and poke rewards simplicity. Small geometric shapes, single-line symbols, lettering of a few letters, a crescent moon, a tiny plant. Fine detail and large filled areas take hours by hand and tend to heal patchy. Draw the design at the exact size it will be tattooed, usually small, and leave open space inside it. If you want ideas, the fine-line pieces in our stencil designs gallery show the kind of line work that holds up.
Step 2: Make the stencil
Option A: Hectograph paper by hand
- Draw or print the design at final size on plain paper.
- Take a sheet of hectograph (carbon) transfer paper and remove the thin tissue layer.
- Lay your drawing over the white top sheet, tape both down, and trace every line firmly with a ballpoint pen.
- Peel the white sheet off. The purple image on its back is the stencil. It is already reversed, so no mirroring is needed.
Option B: A stencil app and a printer
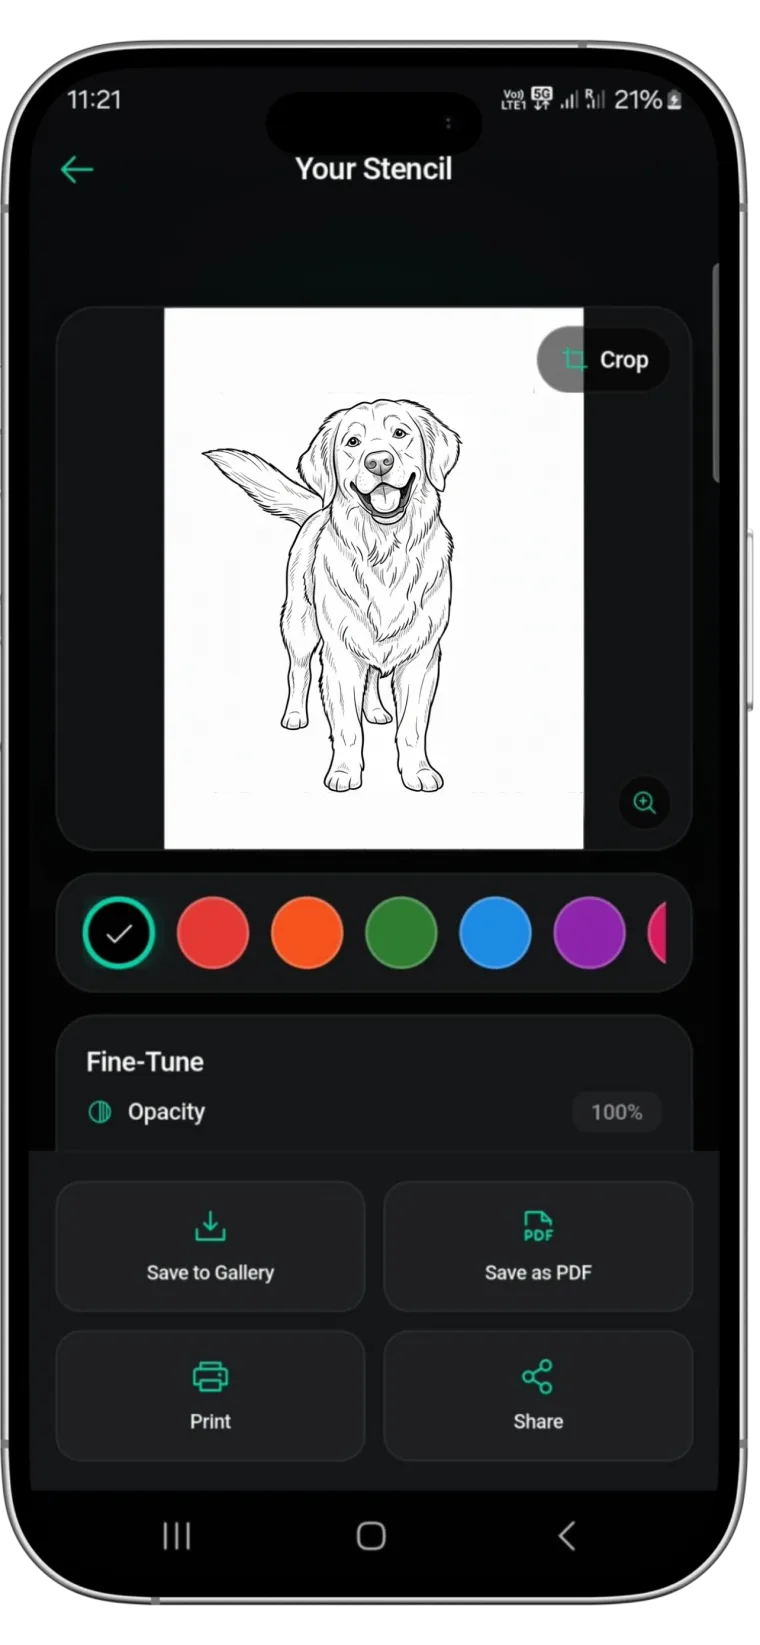
- Draw the design on your phone or import a photo of a sketch. Stencify converts it to clean, even line work and lets you set the size exactly.
- Export the PDF and print on thermal stencil paper if you have a thermal printer, or print on plain paper and trace onto hectograph paper as above.
Either way, the result should be solid, even lines with no shading. Full steps for every method are in how to make a tattoo stencil.
Step 3: Transfer it to skin
- Shave and clean the area, then let it dry completely.
- Apply a thin layer of stencil solution and rub it in until it is tacky, not wet.
- Place the stencil carbon side down in one motion. Do not slide it.
- Press evenly for 10 to 30 seconds, then peel slowly from one corner.
- Let it dry for at least ten minutes before you start. Check it in a mirror from the angle the wearer will see it.
If it goes on crooked, wipe it off with alcohol, dry, and reapply. A second attempt costs a minute; a crooked tattoo costs forever.
Step 4: Poke along the stencil
- Dip the needle in the ink cap, then poke at a steady angle until you feel the slight give of the skin, about 1 to 2 millimetres.
- Work from the top of the design down and away from your resting hand, so you do not wipe the stencil off as you go.
- Blot gently with a clean paper towel; never scrub while the stencil is still needed.
- Space pokes evenly and keep them inside the stencil line. Dots that drift outside it are what make hand pokes look amateur.
- Stop when the line is solid. Overworking the skin causes blowouts and scarring.
Common stick and poke stencil mistakes
- Freehanding anything with a straight line or symmetry. Use a stencil.
- Deodorant as transfer solution. It dries fast and lifts; buy stencil solution.
- Starting before the stencil dries. The first wipe erases it.
- Designs with fills or fine detail. They take hours and heal badly by hand.
- Reusing a needle "just for the same person". No.
Make the stencil the easy part
Stencify turns a sketch or photo into clean, evenly weighted line work at the exact size you set, previews it on a body model, and exports a PDF for stencil paper. It runs on iPhone, iPad and Android: get Stencify on the App Store or on Google Play.
Frequently asked questions
Do I need a stencil for a stick and poke tattoo?
You can freehand a tiny design with a skin-safe marker, but a stencil is how you get straight lines, even spacing and symmetry. Hand poking is slow, so any wobble in the plan shows. For anything beyond a single dot or a two-line symbol, use a stencil.
Can I use deodorant to transfer a stick and poke stencil?
A clear stick deodorant will transfer a hectograph stencil, which is why the trick circulates, but it holds weakly and was never made for skin that is about to be broken by a needle. A small bottle of stencil solution costs very little and is the right product.
How do I make a stick and poke stencil without a printer?
Draw the design at final size on plain paper, lay it over hectograph transfer paper with the tissue sheet removed, trace every line with a ballpoint pen, then peel the top sheet. The purple copy on its back is your stencil. No mirroring is needed.
Is stick and poke safe to do at home?
It carries real risks: infection, bloodborne disease from shared or reused needles, and permanent results you cannot undo. If you go ahead, use a sealed sterile single-use needle, sterile tattoo ink, gloves, fresh skin prep, and never share equipment. If you cannot meet all of that, go to a professional.
Related reading
- How to Make a Tattoo Stencil - all three methods explained
- How to Use Tattoo Transfer Paper - the full transfer process
- Tattoo Stencil Solution - what to use instead of deodorant
- Tattoo Stencil Designs You Can Print Today - small designs that poke well
A clean stencil is the difference between a good poke and a regret
Stencify turns any small design or photo into clean, print-ready line work sized for stencil paper in about 30 seconds.