Stencil library
Lion tattoo stencil
Every lion stencil is a mane problem. The face converts beautifully: the nose, the brow ridge and the eyes have strong edges. The mane is thousands of strands with no edges at all, and a converter will either drop it entirely or fill the page with hair. The stencil below keeps the face at full detail, draws the mane as a few dozen flowing strokes that show direction and volume, and leaves the fill to the artist.
- Sample stencil, Stencify style
- Line work for thermal or hand transfer
- Prints on A4 or letter
- Updated Oct 4, 2026
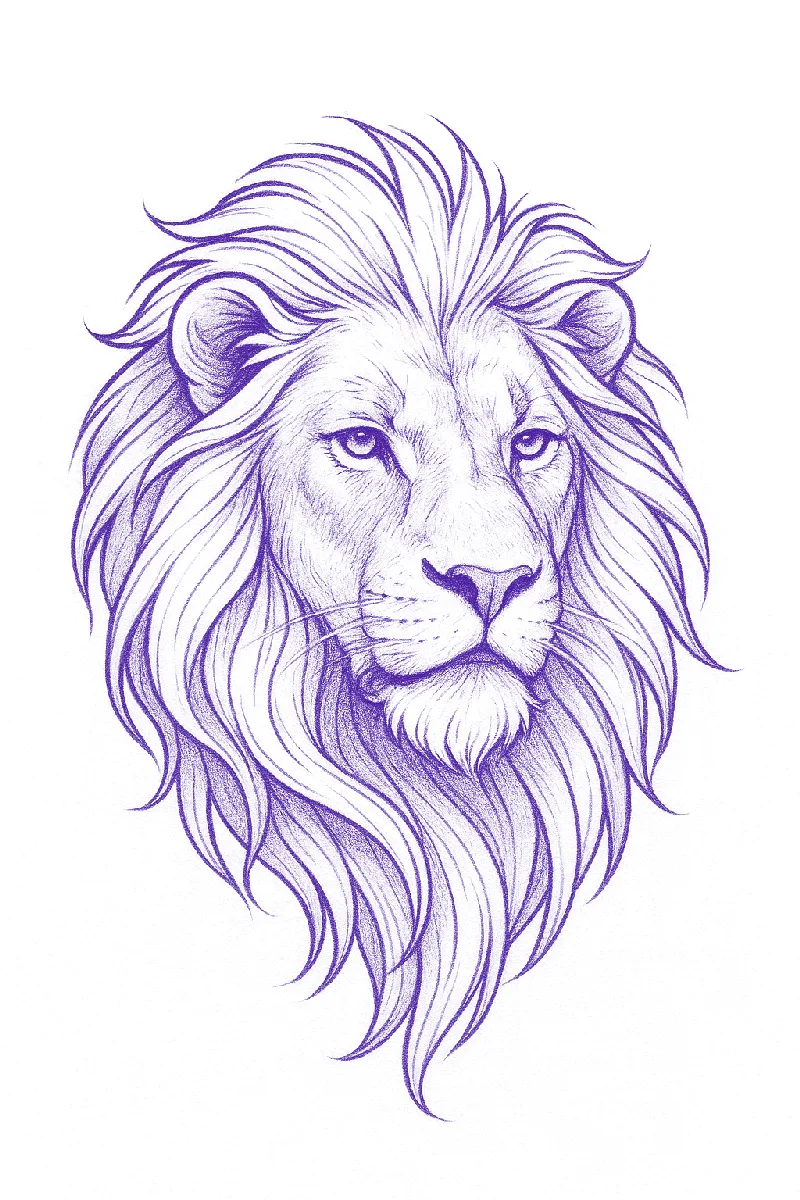
What a good lion stencil needs
- Eyes, nose and mouth as the sharpest lines, with the bridge of the nose drawn as a clear vertical.
- Mane as flowing strokes in groups, heavier near the face and lighter at the edge. Each stroke shows the direction the hair falls, not individual hairs.
- A clear outer silhouette so the artist knows where the mane ends. Converted lions often fade out with no edge.
- Whiskers either drawn as six to eight deliberate lines or left off. Photographic whiskers come out at random.
Styles and how the stencil changes
Realism
Full face detail, mane as a value and direction guide. The most common lion tattoo and the one that benefits most from a clean stencil.
Geometric and half-geometric
Realistic face on one side, polygons on the other. Draw the geometry in a design app and convert everything together.
Traditional
Bold outline, stylised mane with a dozen large locks, open mouth. Convert line art rather than a photo.
Fine line
Face outline and a few mane strokes, often with a crown or flowers. Small and clean; drop the whiskers entirely.
Placement and size
- Outer forearm: four to six inches, face centred, mane filling the width.
- Upper arm and shoulder: six to nine inches, often the start of a sleeve.
- Chest: a larger piece at eight to twelve inches across two sheets, with the join through the mane where it will not show.
- Thigh and calf: room for a full-body lion at eight to ten inches.
Make your own lion stencil from a reference
- Pick a photo with the lion facing the camera or at a slight angle, lit from one side so the face has form.
- Crop to the head and mane. Grass, sky and other lions produce stray edges.
- Convert, then raise contrast until the mane drops to strokes rather than texture. Stop when the face starts losing detail.
- If the face is too light at that contrast, convert twice: once for the face at lower contrast, once for the mane at higher, and combine in the editor.
- Add a silhouette edge to the mane by hand if the converted version fades out.
Stencify does the conversion step in about 30 seconds on iPhone, iPad or Android, with line weight and contrast controls, try-on at real size, and PNG or PDF export sized for stencil paper. The first two uses are free: get it on the App Store or on Google Play.
Frequently asked questions
How do I keep the mane from filling the whole stencil with lines?
Raise contrast until the mane becomes strokes, then accept that the artist will render the fill. A stencil mane should show direction and volume with a few dozen lines, not thousands of hairs.
Should a lion stencil include whiskers?
Only as six to eight deliberately placed lines, drawn in the editor if needed. Whiskers converted from a photo land at odd angles and read as scratches on the transfer.
What is the best lion reference for a stencil?
A front or three-quarter portrait with side lighting and a plain background. Avoid backlit photos, where the mane glows and the face goes dark.
More subjects
Related reading
- How to Make a Tattoo Stencil - the full method from reference to skin
- How to Make a Tattoo Stencil From a Picture - converting photos step by step
- Tattoo Stencil Designs - the full gallery with notes on line weight
Convert your own lion reference
Photo or sketch in, clean line work out in about 30 seconds. Two free uses, then $4.99 a week or $47.99 a year.

