Stencil library
Portrait tattoo stencil
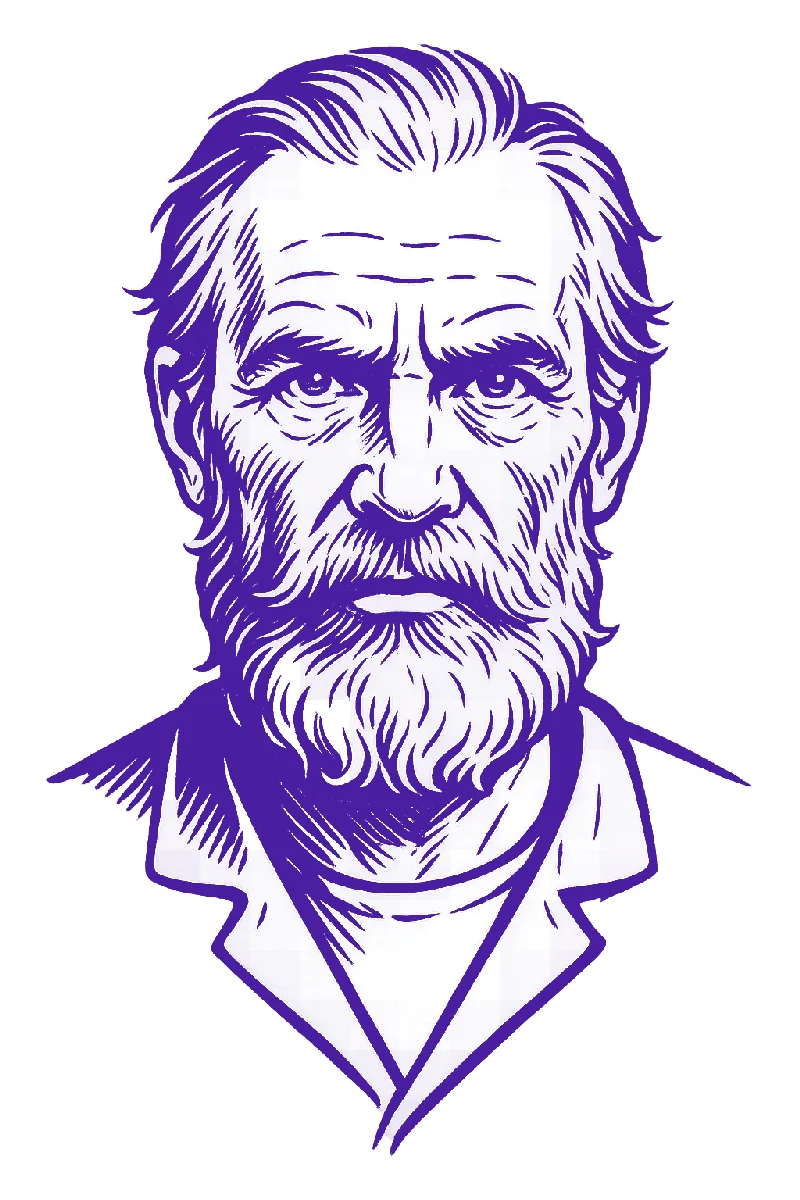
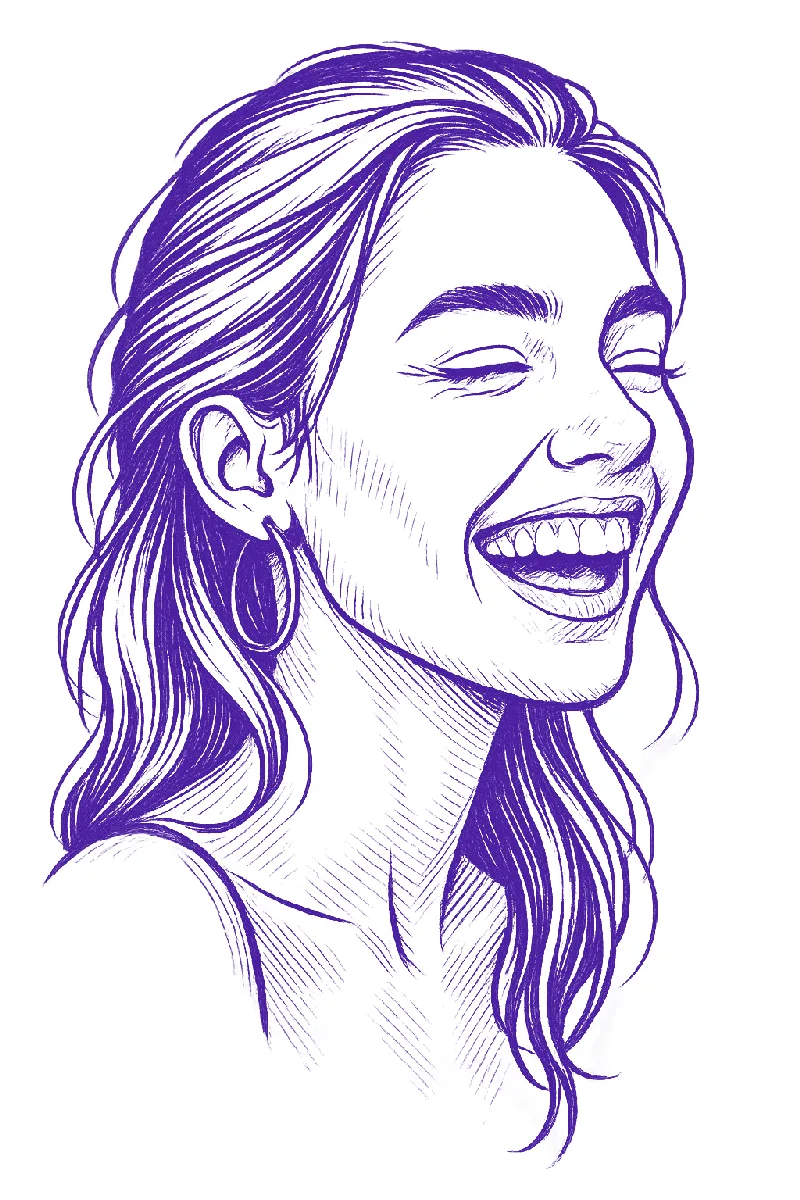
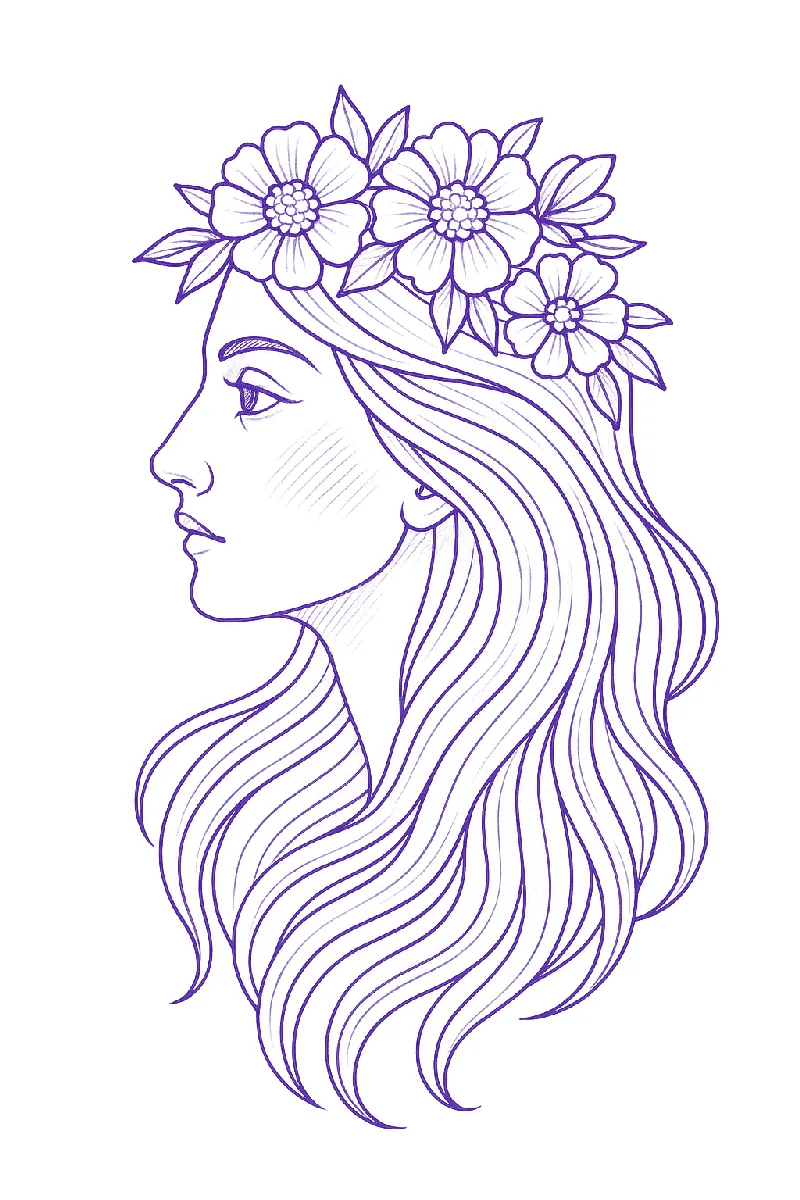
Portraits are where a stencil earns its keep. The client knows this face, and a nose that sits two millimetres too high is a tattoo they will never love. A portrait stencil has one job: put the eyes, nose, mouth and jaw exactly where they are in the photo, with the fewest lines that still carry a likeness. The three stencils below show the same approach on a bearded man, a laughing woman and a profile: features sharp, hair as direction, shading as hatching the artist can follow or ignore.
- Sample stencil, Stencify style
- Line work for thermal or hand transfer
- Prints on A4 or letter
- Updated Oct 4, 2026
What a good portrait stencil needs
- Eyes, nostrils, mouth corners and chin placed exactly, with the inner eye corners and the mouth line as the sharpest marks.
- Hair as flowing directional strokes, heavier at the roots and parting, never individual strands.
- Shading shown as light hatching that tells the artist where the darkest values fall, or dropped entirely for fine-line portraits.
- A clean jaw and neck edge, which converted photos often lose where the skin meets the background.
Styles and how the stencil changes
Black and grey realism
Feature placement plus hatching for value. The stencil is a map; the artist renders from the photo on screen.
Fine line
Outline of the features and hair silhouette only, no hatching. Common for memorial portraits at three to five inches.
Profile
Side view with the forehead-nose-lip-chin line as the single most important stroke on the page.
Illustrative and neo-traditional
Portrait outline with stylised hair and decoration. Convert the face, then add decoration in the editor.
Placement and size
- Inner forearm: the most common memorial placement, four to six inches tall.
- Outer bicep and shoulder: six to nine inches, often with a frame, flowers or dates.
- Thigh: large portraits at eight to twelve inches, two sheets, join through the hair.
- Chest and ribs: five to eight inches, usually fine line or soft realism.
Make your own portrait stencil from a reference
- Choose a sharp, well-lit photo with the face at least 600 pixels tall. Soft or small photos lose the features before anything else.
- Crop to the head and shoulders. Remove other people, text and busy backgrounds.
- Convert and raise contrast until skin texture disappears. Stop before the eyes lose their inner edges.
- Check feature placement against the photo at the same size. If anything has drifted, adjust in the editor; do not redraw freehand.
- For a profile, confirm the forehead-to-chin line is one clean stroke, then try it on at real size on the placement photo.
Stencify does the conversion step in about 30 seconds on iPhone, iPad or Android, with line weight and contrast controls, try-on at real size, and PNG or PDF export sized for stencil paper. The first two uses are free: get it on the App Store or on Google Play.
Frequently asked questions
Can I make a portrait tattoo stencil from an old or low-quality photo?
You can convert it, but the features will be soft and placement less certain. Scan or photograph the print at the highest resolution available, crop tight, and expect to sharpen the eyes and mouth line by hand.
Should a portrait stencil include shading?
As a light hatched guide at most. The stencil marks where the darkest values fall; the artist renders from the photo. Fine-line portraits drop shading entirely.
How do I keep the likeness when simplifying?
Protect the eyes, nostrils, mouth corners and chin. Everything else, including hair and ears, can be simplified heavily without losing the person.
More subjects
Related reading
- How to Make a Tattoo Stencil - the full method from reference to skin
- How to Make a Tattoo Stencil From a Picture - converting photos step by step
- Tattoo Stencil Designs - the full gallery with notes on line weight
Convert your own portrait reference
Photo or sketch in, clean line work out in about 30 seconds. Two free uses, then $4.99 a week or $47.99 a year.

