How to Turn a Drawing or Sketch Into a Tattoo Stencil
• by DND Applications • 6 min read
Many tattoos start on paper: an artist's pencil sketch, a client's doodle, a drawing a child made. Getting that drawing onto transfer paper used to mean tracing it by hand on a lightbox. Today you can photograph the sketch and convert it, keeping every line where the pencil put it. This guide covers how to photograph a drawing, clean it into stencil lines and print it at the right size.
Key takeaways
- Photograph the drawing flat, in daylight, from directly above. The photo is now your master copy.
- Raise contrast to drop paper texture, smudges and construction lines; keep the final lines.
- Firm up light pencil strokes evenly rather than redrawing them, so the drawing keeps its character.
- Size the stencil to the body and print at 100% on thermal or hectograph paper.
Step 1: Finish the line drawing
A stencil needs final lines, not exploration. If the sketch has several attempts at the same edge, go over the line you want with a darker pencil or fine pen first. Shading on the drawing is fine; it will be removed or turned into a few guide lines.
Step 2: Photograph it properly
Lay the paper flat near a window, hold the phone parallel to the page and directly above it, and avoid the shadow of your hand or phone. Fill the frame with the drawing. A scan works too. A crooked photo makes a crooked stencil, so take the time to get it square.
Step 3: Convert and clean
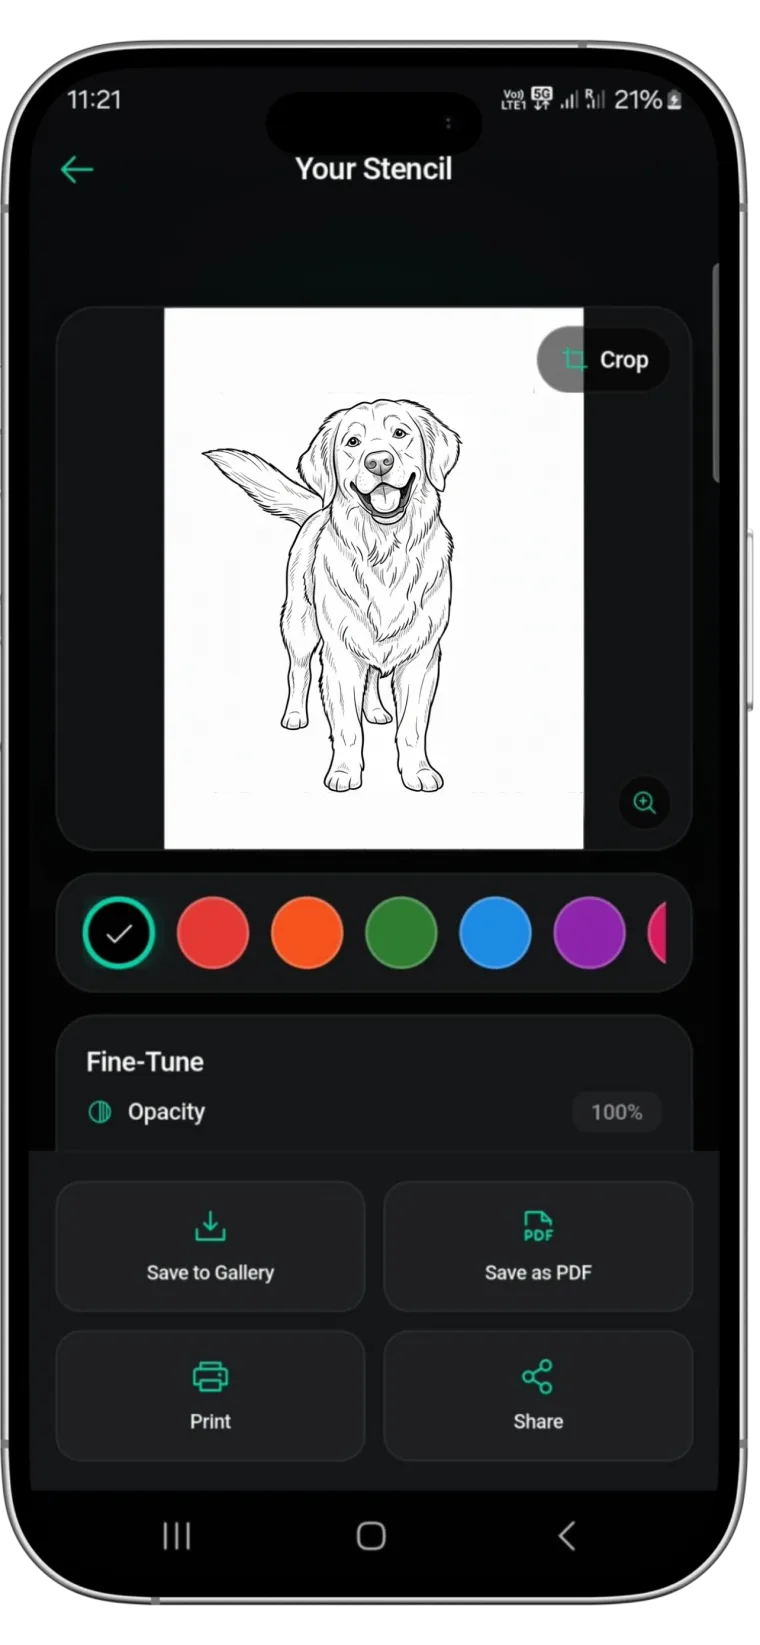
Convert the photo with a stencil tool. Raise the contrast until paper grain, eraser marks and faint construction lines disappear while your final lines stay. In Stencify this is one slider, and the conversion takes about 30 seconds. If a light pencil line disappears with the noise, lower the contrast slightly and increase line weight instead, so faint strokes get thicker rather than vanishing.
Step 4: Keep the hand-drawn character
Resist redrawing. The small variations in a sketch are what make it personal, especially for a drawing by a child or a loved one. Thicken lines evenly across the whole image so the relative thick and thin of the strokes is preserved. The same principle applies to handwriting, covered in handwriting and signature stencils.
Step 5: Size and print
Measure the placement and set the stencil to that size. Check it on a body model or a photo of the client with try-on, then print at 100% on thermal paper, or on plain paper for tracing onto hectograph paper by hand. The full method is in how to make a tattoo stencil.
Sketch to stencil in Stencify
Photograph the drawing, convert it, adjust line weight and contrast, try it on, and export a PDF sized for stencil paper. iPhone, iPad and Android, with two free uses to start: get Stencify on the App Store or on Google Play.
Frequently asked questions
How do I turn my drawing into a tattoo stencil?
Photograph the drawing flat and square in daylight, convert it with a stencil app, raise contrast to remove paper texture, thicken lines evenly, size it to the body and print at 100% on transfer paper.
Can I make a stencil from a pencil sketch?
Yes. Darken the final lines first if they are very light, then photograph and convert. Lowering contrast and raising line weight keeps faint pencil strokes from disappearing.
Should I trace my drawing or convert a photo?
Converting keeps the drawing exactly as it is and takes about a minute. Tracing changes the lines slightly and takes much longer.
Can I use a child's drawing as a tattoo?
Yes, it is a popular choice. Photograph the original, convert it without redrawing, and thicken the strokes evenly so the lines tattoo cleanly.
Related reading
- How to Make a Tattoo Stencil - printing and transfer methods
- How to Turn a Photo Into Line Art - when you start from a photo
- Handwriting and Signature Stencils - keeping a hand-made character
- Tattoo Stencils in Procreate - drawing digitally instead
From sketchbook to stencil in a minute
Photograph your drawing and Stencify turns it into clean, print-ready stencil lines.