Tattoo Lettering to a Printable Stencil: Size, Spacing, Mirror
• by DND Applications • 7 min read
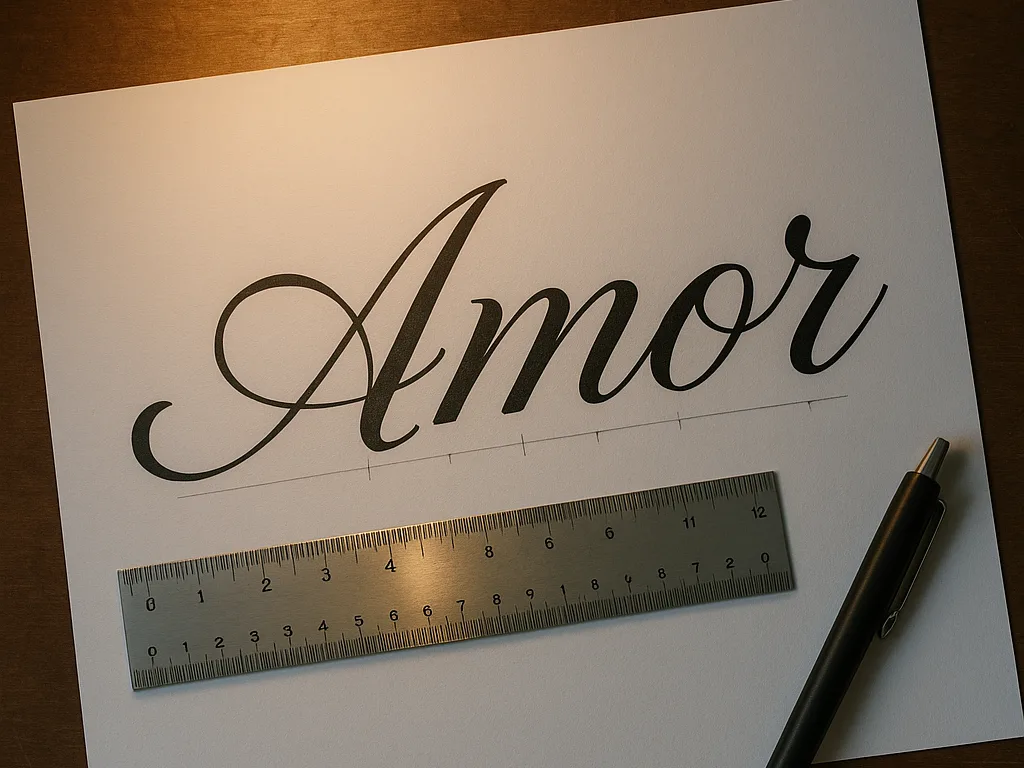
Font generators are everywhere: type a word, pick a script, download a pretty picture. Then the picture meets skin, and the problems start. Letters that looked elegant at phone size are two millimetres tall on a wrist, the spacing closes up as the ink spreads, and the word is backwards because nobody mirrored it before tracing. Lettering is the most common tattoo and the most common stencil mistake. This guide takes a word from font or handwriting to a stencil that prints correctly, covering the four things that go wrong: size, spacing, mirroring and curves.
Key takeaways
- Minimum sizes: lowercase x-height of about 5 mm for script, 4 mm for simple sans, with strokes no thinner than the needle grouping you will use.
- Open the letter spacing by 10 to 20 percent before converting. Ink spreads a little as it heals and tight spacing closes.
- Mirror only when you trace by hand onto hectograph paper. Thermal and app-printed stencils are applied face down and come out the right way.
- Curve the baseline to the body part, then check it with try-on; a straight word on a curved forearm reads as crooked.
Step 1: Choose lettering that will survive
Thin hairlines, tiny flourishes and letters with enclosed counters smaller than a few millimetres all fill in as a tattoo heals. Pick a font or write the word with strokes that stay at least as thick as the needle grouping you plan to use, and avoid counters, the holes in letters like a, e and o, smaller than about 2 mm. Our guide to stencils by style covers how fine line and bold scripts differ.
Step 2: Set the size on the body, not the screen
Measure the placement with a tape and decide the word's total length, then check the letter height that gives you. For script, the lowercase x-height should be about 5 mm or more; for a simple sans serif, about 4 mm. If the word has to fit a short space and the letters fall below those sizes, shorten the word, change the font to something plainer, or move the placement. Sizing method in full: how to size and print a stencil at actual size.
Step 3: Open the spacing
Healed ink is a little wider than the stencil line. Letters that touch on paper merge on skin. Increase the letter spacing by 10 to 20 percent before you make the stencil, more for bold fonts and for placements that stretch, such as the inner arm and ribs. If the font tool does not let you adjust spacing, convert the word to an image and nudge the letters apart in the editor before converting to a stencil.
Step 4: Mirror only when you trace by hand
This is where words come out backwards. A stencil transfers by being pressed face down, so the printed stencil is a mirror of the tattoo, and the transfer flips it back. If you print to thermal paper from a stencil app, the app handles this and you do nothing. If you trace the design onto hectograph paper by hand, you are drawing on the back of the carbon sheet, so you must trace a mirrored printout or the word transfers reversed. Rule: mirror for hand tracing, never for printing.
Step 5: Curve the baseline to the body
Limbs are cylinders. A perfectly straight word wrapped around a forearm or above a collarbone reads as a tilt once the arm is held naturally. Set the baseline on a gentle arc that follows the body part, then place the stencil on a photo of the client in the try-on and look at it from the angle people will see it. Adjust the arc until it reads level. The try-on guide covers taking that photo.
Handwriting and signatures
Handwriting follows the same rules with one extra step: you are starting from a photo, not a font, so the writing must be converted into clean lines first. Thin pen strokes may need thickening to tattoo cleanly. The full method is in handwriting and signature tattoo stencils.
Make the lettering stencil in Stencify
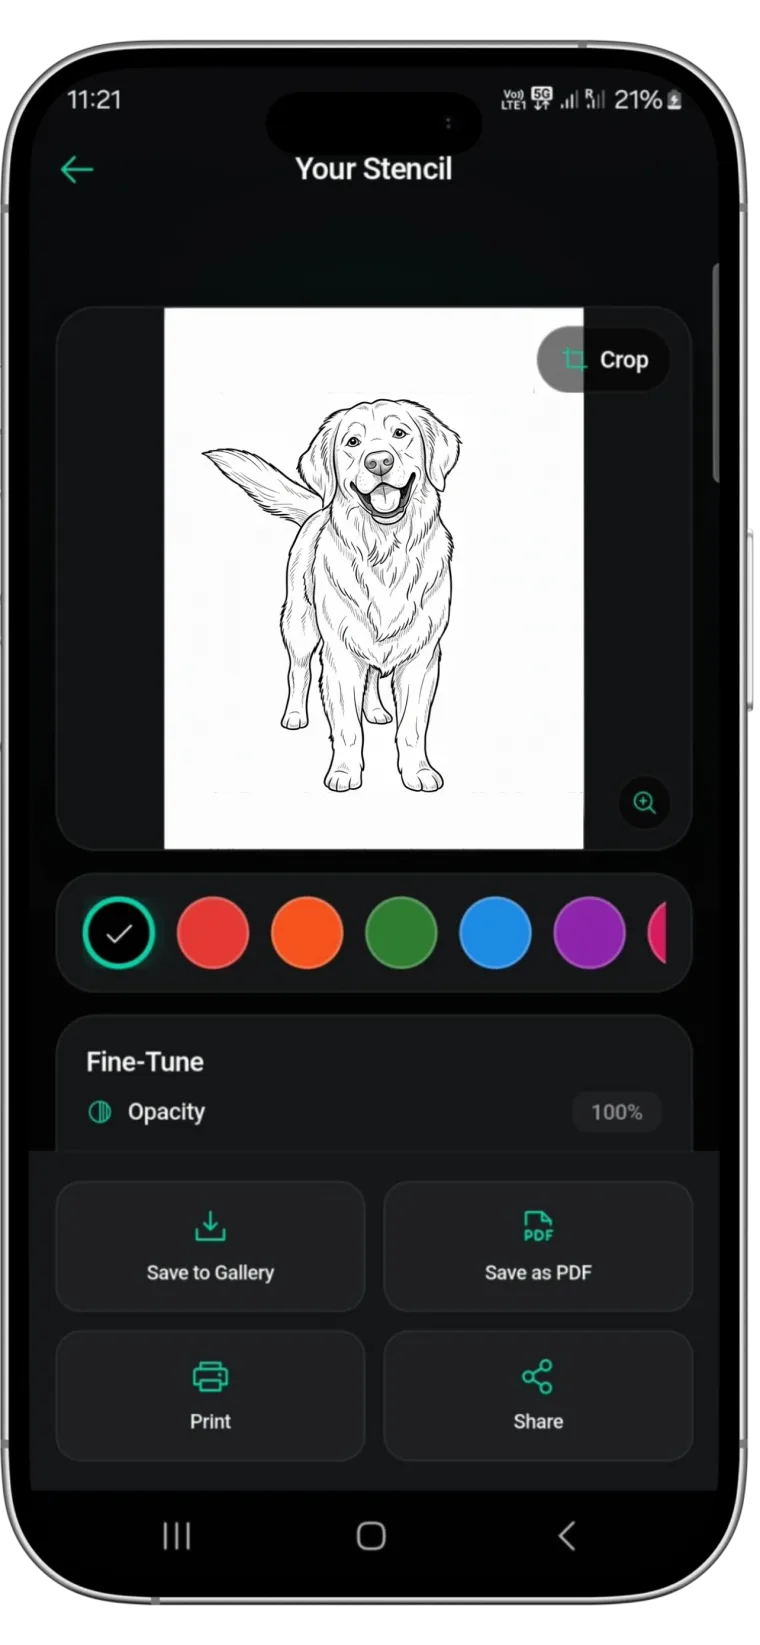
Type the word or photograph the handwriting, and Stencify converts it into clean stencil lines with line weight you control. Try it on a body model or a photo of the client at real size, fix the arc and spacing, and export a PDF sized for stencil paper. iPhone, iPad and Android, with two free uses: get Stencify on the App Store or on Google Play.
Frequently asked questions
How small can tattoo lettering be?
As a rule, a lowercase x-height of about 5 mm for script and 4 mm for a simple sans serif, with strokes at least as thick as your needle grouping. Smaller letters fill in as the tattoo heals.
Do I need to mirror a tattoo stencil for lettering?
Only if you trace the design onto hectograph paper by hand. Stencils printed from an app to thermal paper are already handled; the face-down transfer flips them to read correctly.
Why does my lettering tattoo look crooked?
Usually because a straight baseline was placed on a curved body part. Curve the baseline to follow the limb and check it on a photo of the client before printing.
Can I make a stencil from a tattoo font generator image?
Yes. Save the image at the final size, open the letter spacing by 10 to 20 percent, convert it to line work in a stencil app, and print at 100%.
Related reading
- Handwriting and Signature Tattoo Stencils - lettering from a photo instead of a font
- How to Size and Print a Tattoo Stencil - sizing before you print
- Tattoo Try-On - checking the arc on the body
- Stencils by Style - fine line versus bold lettering
Lettering that prints at the size you planned
Stencify converts typed or drawn lettering into clean stencil lines, previews it on skin and exports at actual size.