Geometric and Mandala Tattoo Stencils: Symmetry, Size and Printing
• by DND Applications • 7 min read
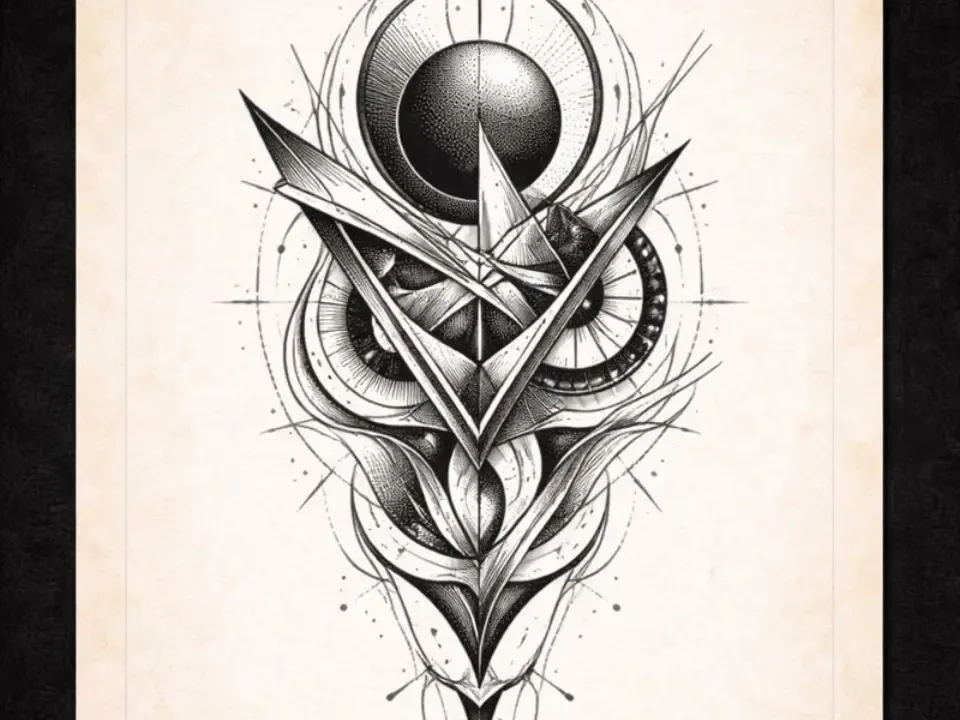
Geometric and mandala tattoos are unforgiving. A portrait can hide a small wobble; a circle cannot. Every line must be even, every repetition identical, and the whole design centred on a body that is neither flat nor symmetrical. Most of that is decided at the stencil stage. This guide covers line weight, spacing, centring and printing so the geometry survives the transfer.
Key takeaways
- Use one consistent line weight for structure and a lighter one for detail. Mixed weights look like mistakes.
- Keep parallel lines at least about 1 mm apart at final size, or they merge as the tattoo heals.
- Mark a centre line and a horizontal axis on the stencil to align it on the body.
- Print at exactly 100%. Any scaling changes the proportions of a mandala.
Line weight and spacing
Choose two weights: a main weight for circles, outlines and structural lines, and a lighter one for inner detail. Keep them consistent across the whole design. Then check spacing at the real size. Lines closer than about 1 mm merge as ink spreads during healing, which is why dense mandalas need to be larger than they look on screen. If detail crowds, enlarge the design or remove a ring of pattern.
Sizes that work
| Design | Minimum size | Notes |
|---|---|---|
| Simple geometric shape | About 3 cm | Single line weight |
| Small mandala | About 6 cm | Two or three rings of detail |
| Detailed mandala | 10 cm and up | Dotwork and fine petals need room |
| Geometric sleeve element | Measured to the limb | Plan the wrap with try-on |
Centring on the body
Bodies are not symmetrical, so centre the stencil on landmarks: the spine for a back piece, the sternum for a chest piece, the line of the forearm bone for an arm. Add a short centre line and a horizontal axis to the stencil, outside the design or as faint ticks, so you can align it before pressing. Check the position with the client standing naturally.
Curved placements
A mandala on a shoulder or knee sits on a dome; on a forearm it wraps a cylinder. Large flat geometry will distort when it wraps. Preview it on a photo of the placement with try-on, and for big pieces consider a slightly smaller design or a placement on a flatter area.
Making the stencil
- Start from a clean source: your own drawing, a reference, or a design generated from a description.
- Convert it to line work with even weight. In Stencify, raise line weight until every structural line is solid.
- Check symmetry at full size on screen, then on a plain paper print at 100%.
- Add alignment marks, then print on thermal paper. Printing method: how to size and print a stencil.
Stencify can also generate a geometric or mandala design from a text description and convert it straight into a stencil. iPhone, iPad and Android, two free uses: get Stencify on the App Store or on Google Play.
Frequently asked questions
How do you make a mandala tattoo stencil?
Start from a clean design, convert it to even line work, check that lines stay at least about 1 mm apart at the real size, add centre and axis marks, and print at exactly 100% on stencil paper.
How small can a mandala tattoo be?
About 6 cm for a simple mandala. Detailed mandalas with dotwork need 10 cm or more so lines do not merge.
How do you keep a geometric tattoo symmetrical?
Use consistent line weights, align the stencil on body landmarks with centre and axis marks, and apply it with the client standing naturally.
Can I generate a geometric tattoo design?
Yes. Stencify generates a design from a text description, such as "fine line mandala with lotus centre", and converts it into a printable stencil.
Related reading
- How to Size and Print a Tattoo Stencil - true-size printing
- Stencils by Style - line weight choices
- Tattoo Placement and Body Flow - centring on the body
- Small Tattoo Ideas That Hold Up - when geometry has to stay small
Geometry that stays true on skin
Stencify keeps lines even, previews the design on the body and prints it at true size.