Pet Portrait Tattoo: From Your Pet's Photo to a Clean Stencil
• by DND Applications • 7 min read
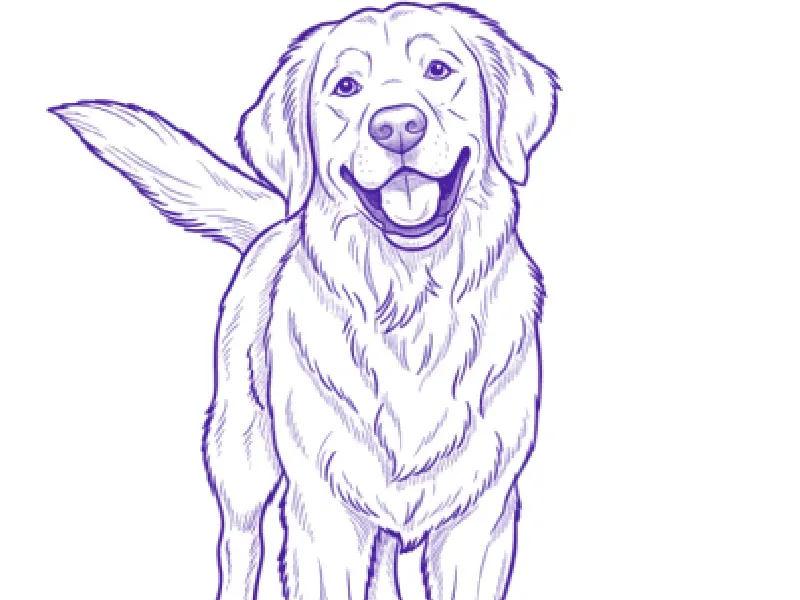
A pet portrait tattoo works when it looks like your pet, not a generic dog or cat. That likeness lives in a few details: the eyes, the shape of the nose and muzzle, the ears, and the direction of the fur. All of it comes from the photo you choose. This guide covers picking the photo, choosing a style and size, and turning the photo into a stencil your artist can work from.
Key takeaways
- The photo decides the likeness. Choose a sharp, eye-level shot with light from one side.
- Eyes and nose carry the likeness; fur is shown by direction, not by individual hairs.
- Realism needs room. Most pet portraits need about palm size or larger to stay recognisable.
- Convert the photo instead of redrawing it, so markings and ear shape stay accurate.
Choosing the photo
Look for a photo taken at your pet's eye level, in focus on the eyes, with light coming from one side rather than a straight-on flash. Ears in their natural position and a closed or relaxed mouth usually read best. If you are choosing between a cute photo and a sharp one, choose the sharp one; blur becomes guesswork in the stencil.
Styles
| Style | What it shows | Typical size |
|---|---|---|
| Realism | Full likeness, shading and fur texture | 8 to 15 cm |
| Fine line | Outline, eyes, nose and a few fur strokes | 5 to 8 cm |
| Minimal outline | Head shape and ears only | 3 to 5 cm |
| Traditional | Bold outline with simplified features | 6 to 10 cm |
What the stencil needs
- Clean eye outlines with the pupil and highlight placed exactly, because eyes carry the likeness.
- The nose shape and the line of the mouth.
- The outer silhouette, including the exact ear shape.
- Fur shown as direction: a few lines that follow how the coat lies, especially around the face.
- The edges of markings, such as a white blaze or dark mask, as light guide lines.
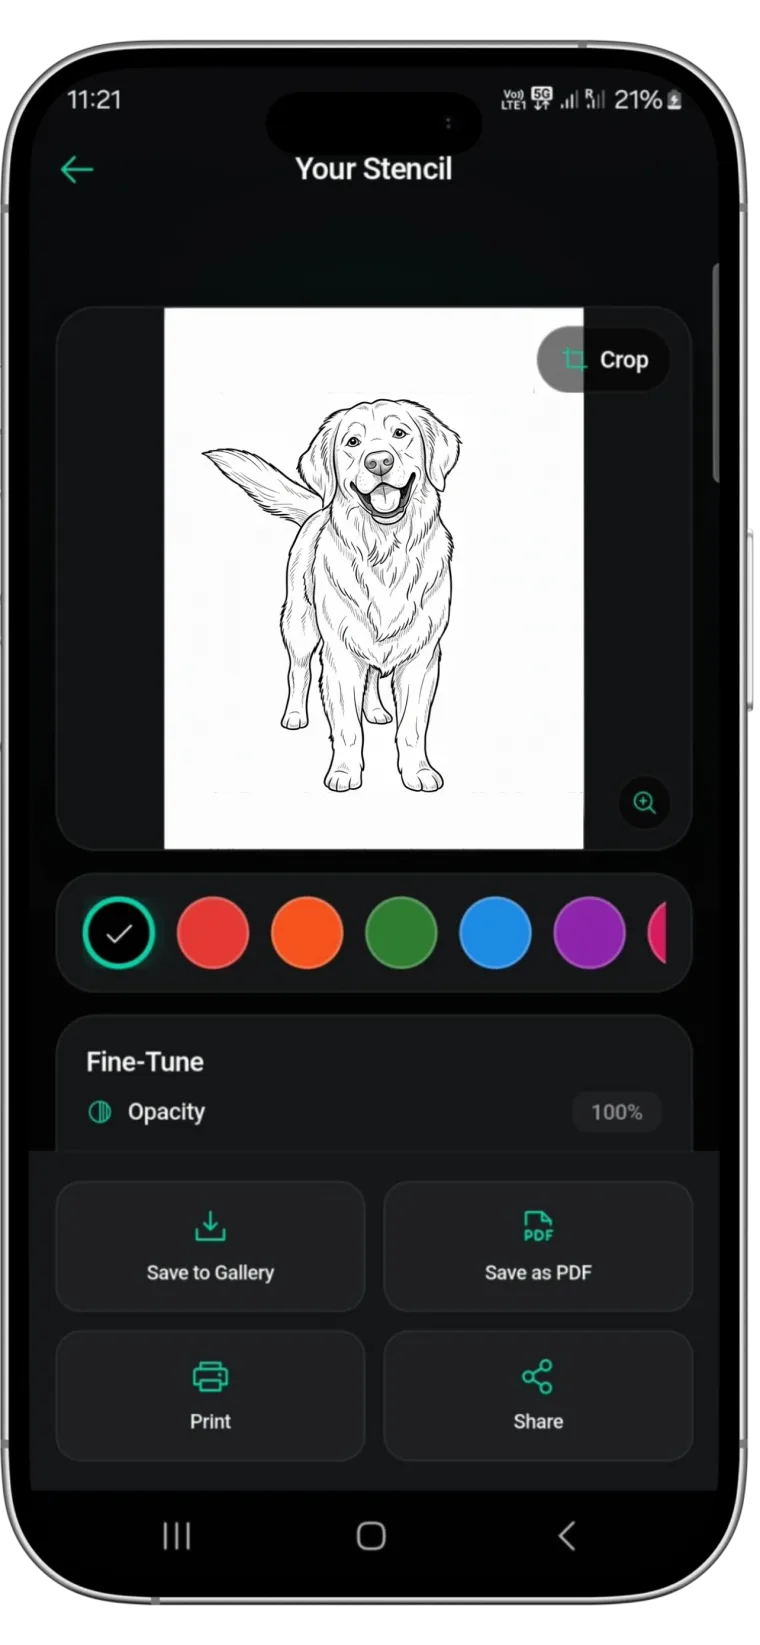
Our dog stencil page shows a real conversion and what to look for.
From photo to stencil
- Crop the photo to the head, or head and shoulders.
- Convert it into line work. In Stencify this takes about 30 seconds.
- Set line weight for the style: light for fine line and realism, heavier for traditional.
- Try it on a photo of the placement at the planned size, and enlarge it if the eyes start to crowd.
- Export a PDF sized for stencil paper and share it with your artist.
Stencify runs on iPhone, iPad and Android, and the first two uses are free: get Stencify on the App Store or on Google Play.
Frequently asked questions
What photo should I use for a pet portrait tattoo?
A sharp, eye-level photo with the eyes in focus and light from one side. Avoid blurry or flash-lit photos; the likeness comes from the eyes, nose and ears.
How big should a pet portrait tattoo be?
Realism usually needs 8 cm or more. Fine line portraits can go to about 5 cm, and minimal outlines smaller still.
Can I turn my pet's photo into a tattoo stencil?
Yes. Convert the photo into line work with a stencil app such as Stencify, adjust line weight for the style, check the size on skin and export it for stencil paper.
How do you show fur in a tattoo stencil?
With a few lines that follow the direction of the fur, not individual hairs. The artist creates the texture with shading.
Related reading
- Memorial Tattoo Ideas - for a lost companion
- How to Turn a Photo Into Line Art - the reduction step in detail
- Realism Tattoo Stencils - for full realism portraits
- Tattoo Try-On - checking the size on skin
Your pet's photo, ready for the stencil
Stencify converts a pet photo into clean line work, then previews it on skin at real size.