Practising Tattoo Stencils on Fake Skin: A Beginner's Guide
• by Stencify • 7 min read
Practice skin is where most apprentices first learn that putting a stencil on is its own skill. The transfer smears, the lines fade halfway through, or the purple wipes off the moment you start cleaning. None of that means you are bad at tattooing; it means you have not built the routine yet. This guide covers how to apply a stencil to fake skin, what usually goes wrong and why, how to clean and reuse a sheet, and a six-stage plan for moving from straight lines to a full piece.
Key takeaways
- Treat every practice sheet like a client: clean setup, gloves, barrier film and proper sharps disposal. The habits are the point.
- Use a thin layer of stencil solution and let the stencil dry fully before you start. Most failed transfers come from too much solution or starting too soon.
- Fake skin does not behave like real skin. It is a place to practise control, consistency and stencil handling, not depth.
- Move to the next stage only when you pass its check on three sheets in a row.
What fake skin is good for, and what it is not
Synthetic practice skin is a sheet or moulded form made to take ink from a tattoo machine. It is good for building hand control: straight lines, smooth curves, even line weight, consistent speed and staying on a stencil. It is also the best low-stakes place to get stencil application right, because you can do it twenty times in an afternoon.
It is not a substitute for human skin. It does not stretch, swell or bleed, and it does not heal, so you never see how a line settles over the following weeks. Ink often sits differently too, and some sheets will take ink happily at a depth that would be wrong on a person. Experienced artists generally agree that practice skin teaches the mechanics and that real skin, under supervision during an apprenticeship, teaches the rest. Our apprenticeship guide covers how that step usually happens.
Choosing practice skin
- Flat blank sheets. The cheapest and most flexible. Use them for lines, lettering and most stencil practice.
- Pre-printed sheets. Come with designs already on them. Useful for early line drills, but they skip the stencil step, which is half of what you need to learn.
- 3D forms (arms, hands, feet). Closer to working on a body because the surface curves. Worth adding once you are comfortable on flat sheets, since a stencil behaves differently on a curve.
- Thicker or double-sided sheets. Some brands make thicker sheets you can use on both sides. Thinner sheets are easier to push through, so be careful how you read your depth.
Brands differ in how readily they take a stencil. If transfers never work on one type no matter what you do, try a different sheet before changing anything else. Some apprentices also practise on pig skin, which is closer to human skin but harder to source and handle hygienically. Start with synthetic sheets.
Set up like a real appointment
The routine you build on practice skin is the routine you will use on clients, so build the right one. Wrap your machine and cord in barrier film, cover the work surface, wear gloves, use single-use cups for ink and dispose of needles in a proper sharps container even though no one was tattooed. Tape or clamp flat sheets to the table, or stretch them over a rolled towel or a curved form so they do not slide. A sheet that moves under the stencil gives you doubled lines before you even start.
Applying the stencil to fake skin
The method is the same as on skin, with one difference: practice skin is slick and non-porous, so the stencil has less to hold on to and a thin, even layer of solution matters more.
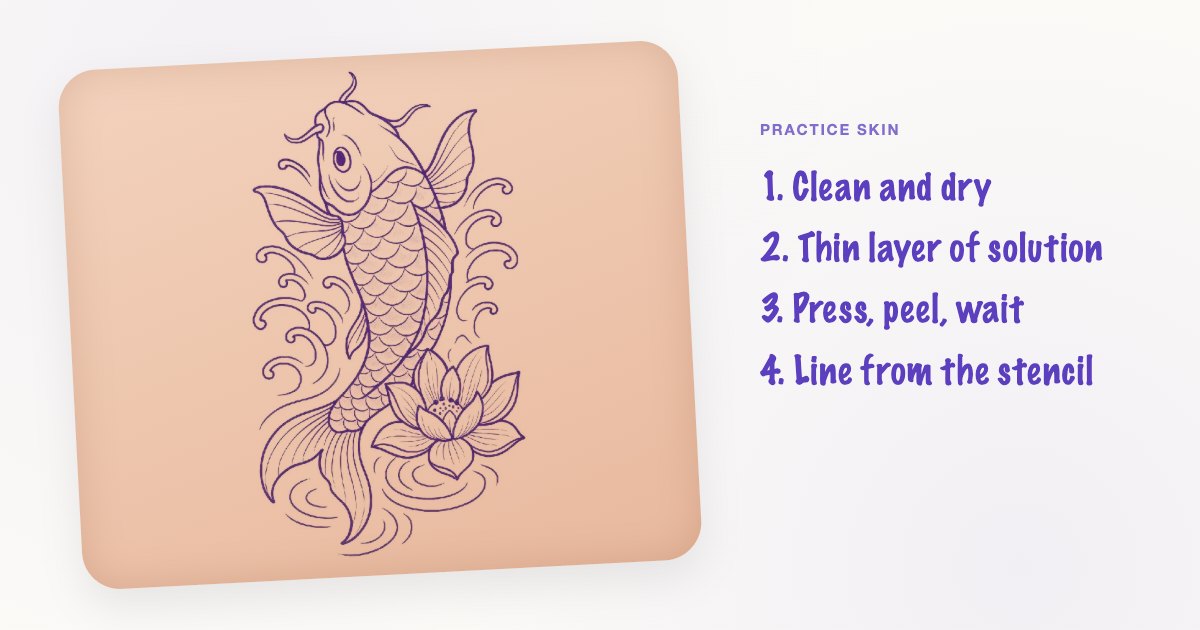
- Print or trace the stencil. Use a clean, solid line. A faint stencil transfers faintly. Our free printable tattoo stencils are a good starting set if you do not have your own designs yet.
- Clean the sheet. Wash off any factory residue with mild soap and water, then dry it completely.
- Apply a thin layer of stencil solution. Rub it in with a gloved finger until the surface feels tacky rather than wet.
- Place the stencil once. Carbon side down, in one movement. Do not slide it to adjust.
- Press evenly from the centre outward for 10 to 30 seconds, then peel slowly from one corner.
- Let it dry. Give it at least ten minutes, longer if the room is humid. Starting early is the most common reason a stencil wipes away.
The products and amounts are covered in detail in the stencil solution guide, and the transfer itself in getting the stencil to stick.
What goes wrong, and how to fix it
| Problem | Likely cause | Fix |
|---|---|---|
| Stencil does not transfer | Sheet too slick or still oily; too little solution; solution dried before the paper went on | Clean and dry the sheet; rub in a little more solution until tacky; place the paper straight away |
| Lines blurry or doubled | Too much solution; paper slid while pressing | Use less and rub longer; place once and hold still |
| Stencil wipes off in the first minutes | Not dry yet; heavy wiping | Wait at least ten minutes; blot or wipe gently in one direction |
| Stencil fades halfway through | Too much ointment; repeated wiping over the same area | Use a very thin layer of ointment; work in small sections |
| Lines wobble or break | Speed and hand position, not the stencil | Slow down, anchor your hand, pull lines toward you |
| Ink spreads outside the line | Needle going in too deep or at a steep angle for this sheet | Reduce depth and keep a consistent angle; note what works for each brand |
Fading mid-session is also a classic problem on real skin. The reasons overlap, and why stencils fail mid-session goes through them.
Cleaning and reusing a sheet
While you work, wipe excess ink with a paper towel and a diluted green soap solution, the same as you would on a client. When you are done, photograph the sheet before you clean it so you have a record. To remove a leftover stencil, rubbing alcohol or a stencil remover usually works, but some synthetic sheets react to solvents, so test on a corner first and follow the maker's instructions. Ink that is in the sheet stays there. Once a sheet is full, use the back if it is double-sided, or keep it as part of your practice log.
Six stages of practice
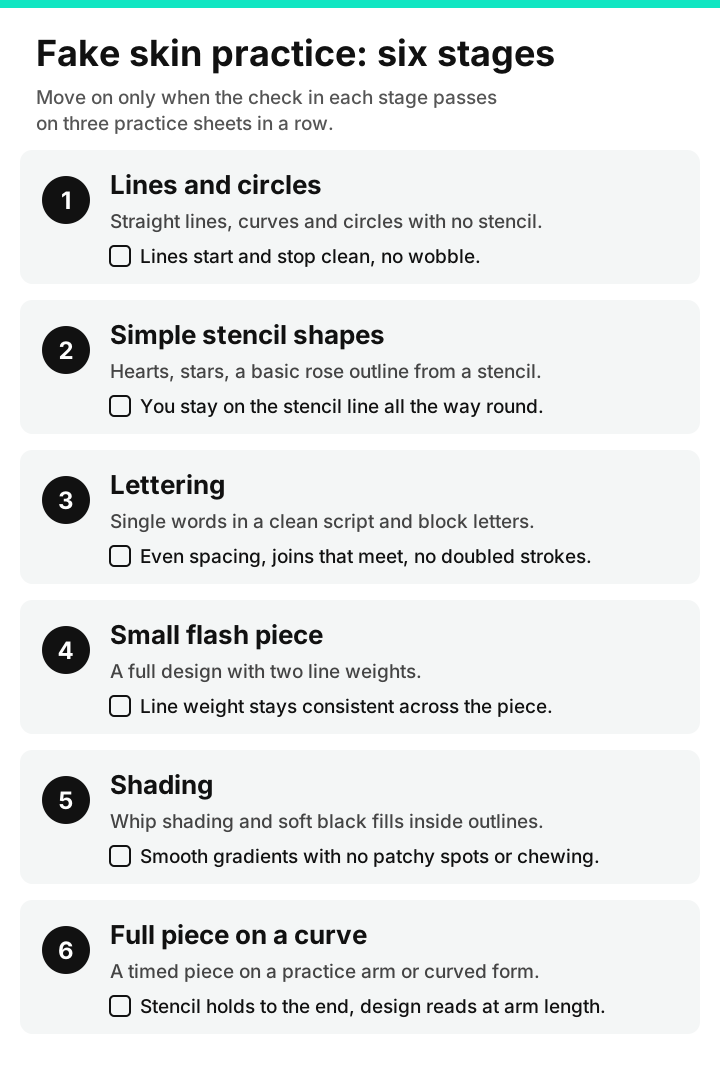
- Lines and circles. Straight lines in different directions, curves and circles, with no stencil. Check: lines start and stop clean without wobble.
- Simple stencil shapes. Hearts, stars, a basic rose outline. This is where the stencil routine above becomes automatic. Check: you stay on the stencil line the whole way round.
- Lettering. Single words, in a clean script and in block letters. Letters expose every wobble. Check: even spacing and joins that meet without doubled strokes. Our lettering stencil guide helps with the design side.
- A small flash piece. A complete design with two line weights, such as a dagger or a simple animal. Check: each weight stays consistent across the piece.
- Shading. Whip shading and soft black fills inside outlines you have already done. Check: smooth gradients with no patchy spots and no chewed-up surface.
- A full piece on a curve. A timed piece on a practice arm or a sheet stretched over a curved form. Check: the stencil holds until you finish and the piece reads clearly at arm's length.
Keep a simple log for each sheet: the date, the design, the needle and machine settings, how long it took, and one thing to fix next time. Looking back over twenty sheets shows you more than any single session.
Where to get practice designs
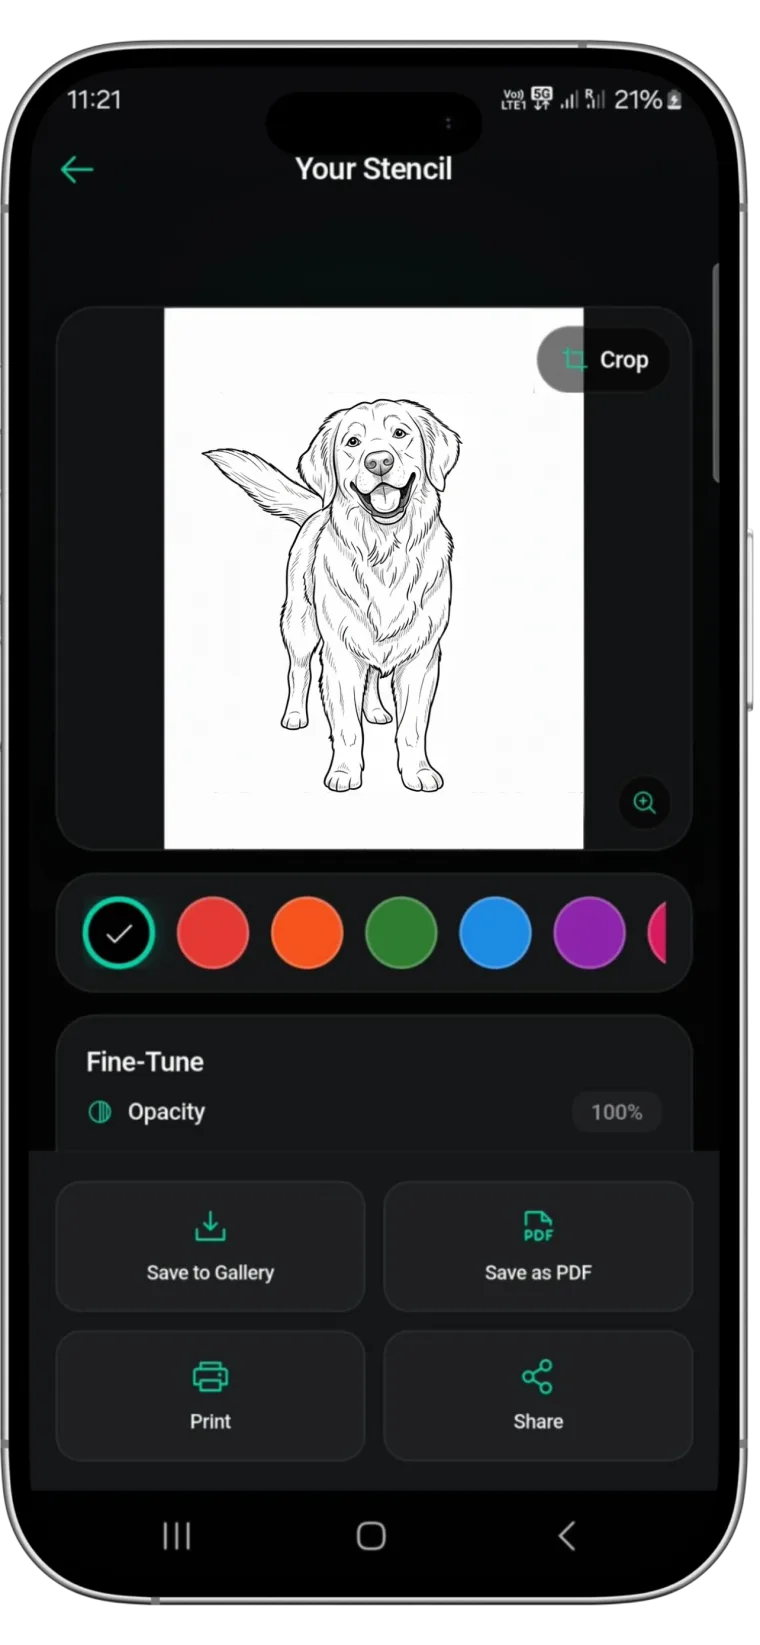
Early on, any clean line work will do. Later, practise the kind of work you want to do: if you want to tattoo pet portraits, practise from pet photos; if you want to do lettering, practise names and dates. To turn your own references into stencils quickly, Stencify converts a photo, sketch or text prompt into stencil line work in about 30 seconds, with line weight and contrast controls, and exports PNG or PDF for A4 or US Letter, for thermal or inkjet printers. It runs on iPhone, iPad and Android, and the first two uses are free: App Store or Google Play. Building a set of flash for practice is also a good exercise in itself; see how to make a tattoo flash sheet.
Practice skin is for practice. Tattooing people requires training and, in many places, a licence and a registered premises, so check the rules where you live before you work on anyone.
Frequently asked questions
How do you get a stencil to stick to fake skin?
Clean the sheet with soap and water and dry it, rub in a thin layer of stencil solution until tacky, place the stencil once without sliding, press for 10 to 30 seconds, peel slowly and let it dry for at least ten minutes before tattooing.
Why does my stencil smudge on practice skin?
Usually too much stencil solution, the paper moving while you pressed it, or starting before the stencil was dry. Use less solution, place the paper once and wait at least ten minutes.
Can you reuse fake tattoo skin?
Partly. You can remove leftover stencil with rubbing alcohol or stencil remover if the sheet tolerates it, so test a corner first. Ink stays in the sheet, so once it is full use the back if it is double-sided.
Is practising on fake skin the same as tattooing real skin?
No. Fake skin does not stretch, bleed or heal, and it takes ink differently. It teaches line control and stencil handling; real skin is learned under supervision during an apprenticeship.
Related reading
- Tattoo Apprenticeship - how to get one and what you will do
- Tattoo Stencil Solution - what to use and how to apply it
- Why Stencils Fail Mid-Session - and how to prevent it
- Free Printable Tattoo Stencils - six designs to practise on
Make practice stencils from your own references
Stencify turns a photo, sketch or text prompt into clean stencil line work in about 30 seconds, ready to print on A4 or US Letter.